Featured Image

How to Inspect Guide Tubes: A Field-Ready Guide for NDT Techs

By Theo Ewing | Nov 11, 2024 |

Routine inspection of guide tubes and collimators helps prevent source retrievals and ensures equipment remains safe and functional. The steps below outline what to check and when to remove a guide tube from service.

Types of Guide Tubes

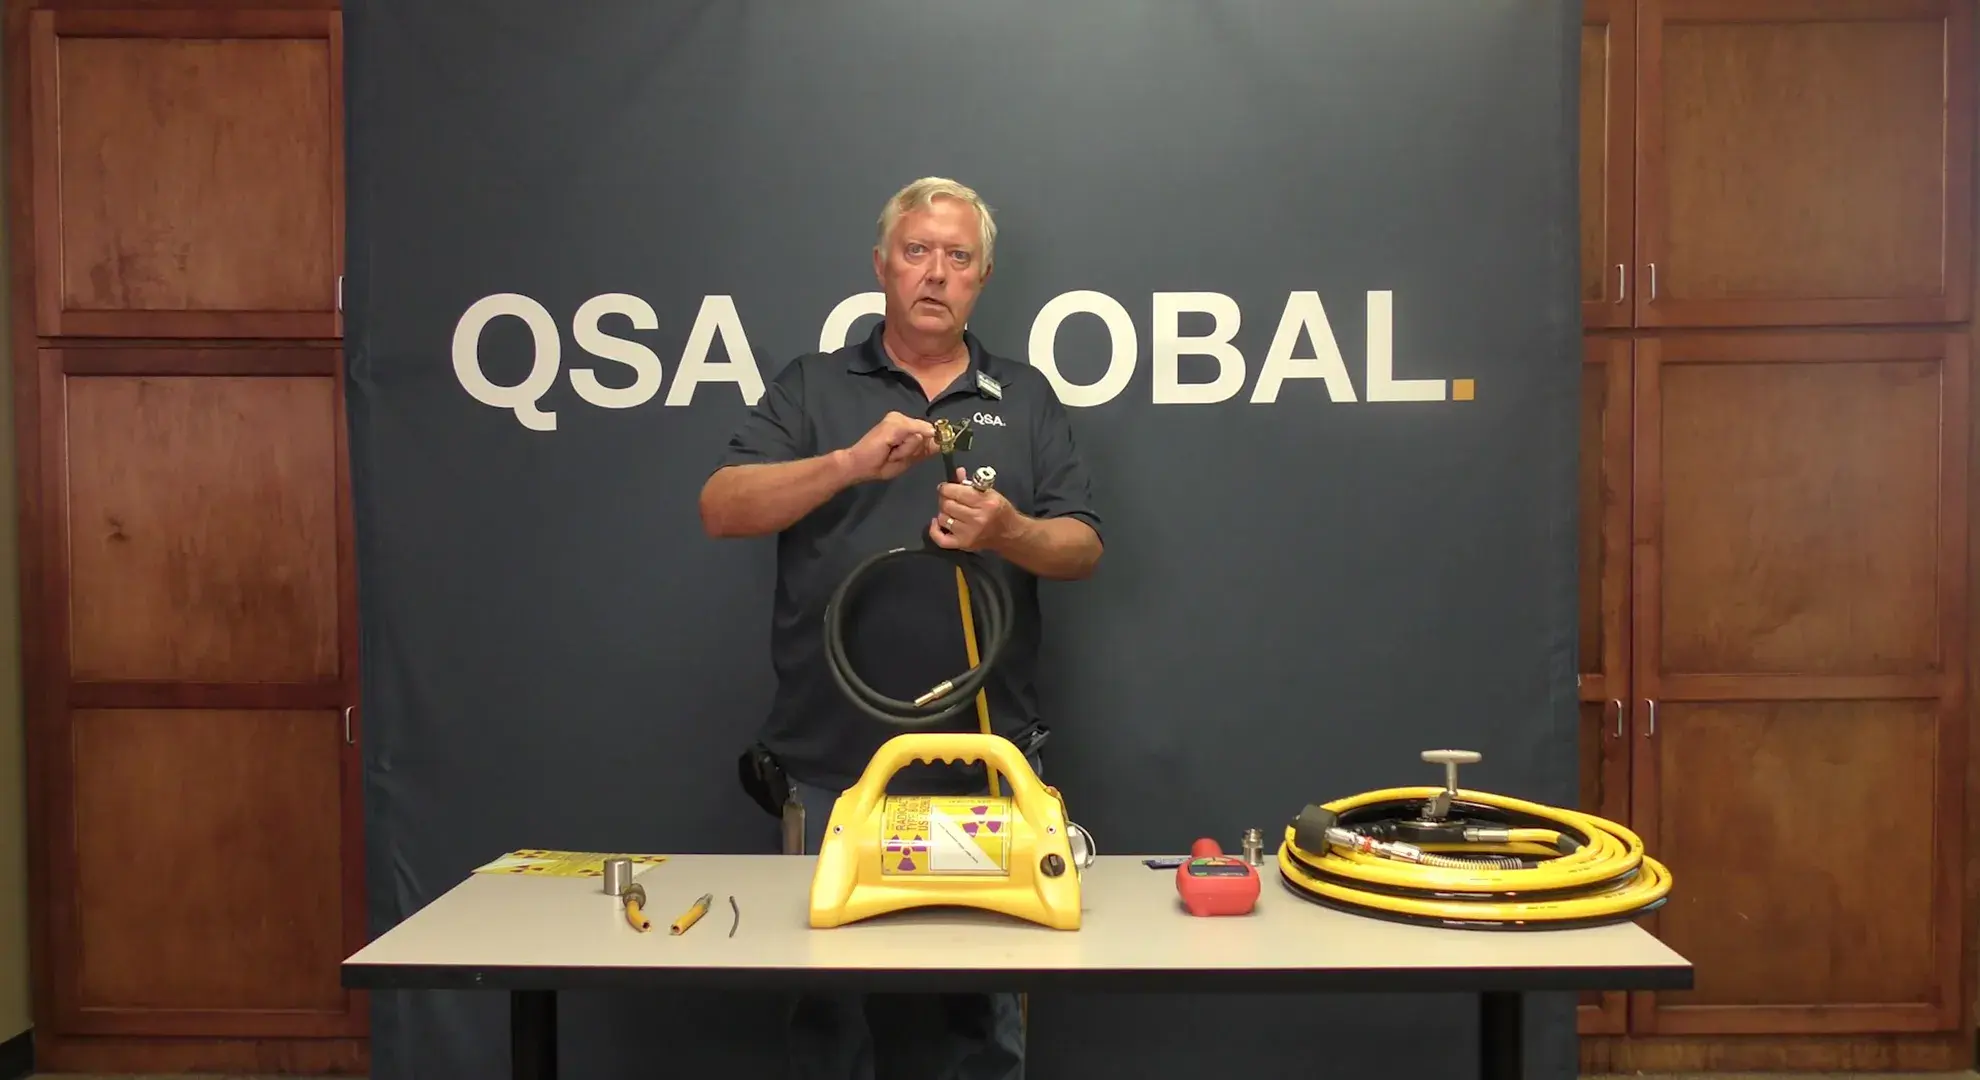
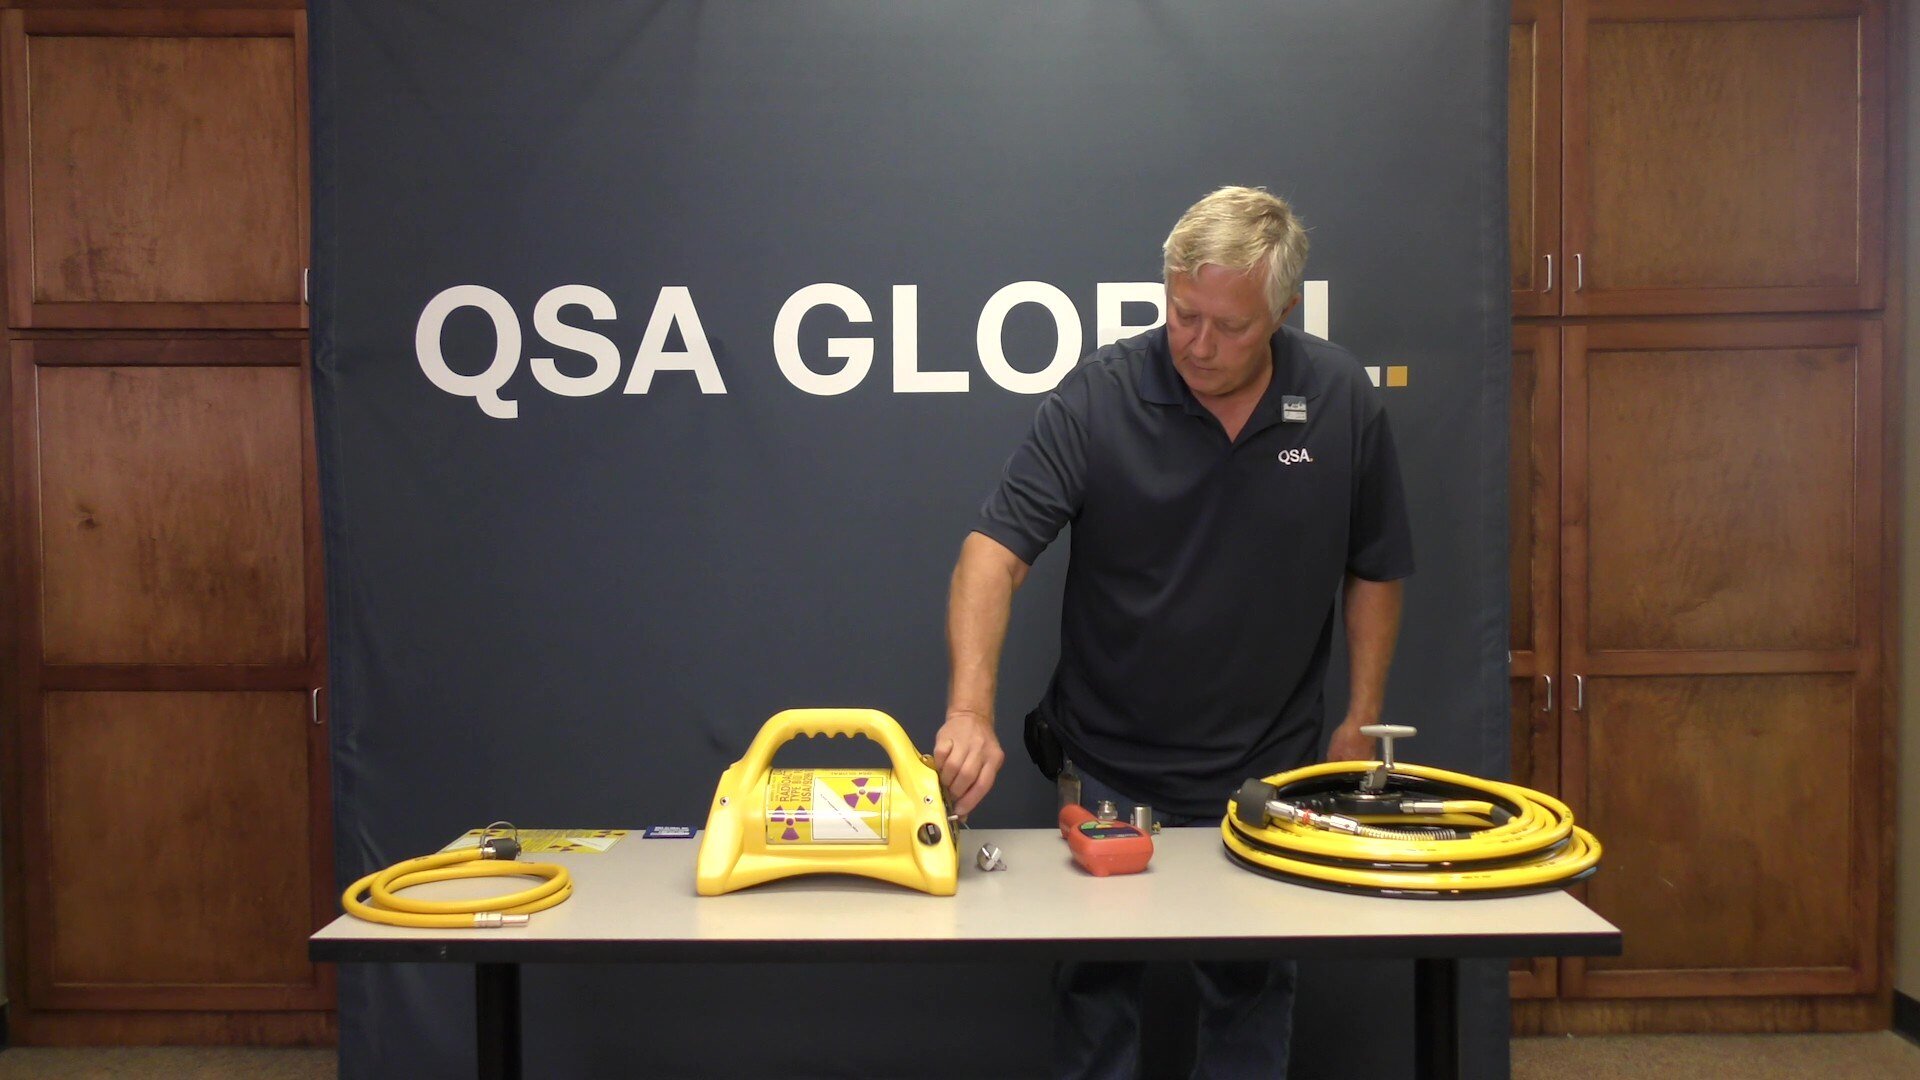
QSA Global provides two guide tube options designed for different environmental conditions. The inspection process is the same for both.

Standard Guide Tubes

  • Feature a yellow vinyl coating
  • Intended for use in standard operating environments

Extreme Condition Guide Tubes:

  • Feature a flexible black coating
  • Designed for extreme temperatures ranging from −60°C to 135°C (−76°F to 275°F)

Knowing which type you're using helps you understand how the material should behave under normal handling during inspection.

Daily Guide Tube Inspection Steps

Visual Inspection

  • Lay the guide tube out straight.
  • Look for thermal damage, cuts, abrasions, or deformation.
  • Focus on areas near the crimp connectors. Damage here may cause the connector to fail under load.

Flex Test

  • Gently bend the guide tube along its length.
  • If it flexes too easily or unevenly, the internal metal conduit may be separated.
  • If there's any doubt, inspect it with a borescope or return it for internal evaluation.

Repair of Minor Cuts

If you see cuts in the middle of the tube that don’t affect the crimp area, wrap them with yellow vinyl electrical tape. This prevents mud, water, and debris from entering the space between the outer jacket and the internal conduit.

Pro Tips for Extended Equipment Life

  • Coil and store guide tubes without kinks
  • Keep vinyl tape and a thread chaser on hand
  • Make inspection part of your daily routine and train junior technicians to follow the same process

When to Remove from Service

Remove your guide tubes from service if you see:

  • Cuts or abrasions near the crimp connectors
  • Excessive flexibility from suspected internal separation
  • Rounded, worn, or smoothed source tip
  • Indentations caused by collimator screws
  • Threads that cannot be cleaned up using a thread chaser

Connector Integrity Inspection

  • Ensure bayonets rotate freely and have clean, square edges.
  • For guide tubes with 1"-18 fittings, check that the threads are intact.
  • Use a 1"-18 thread chaser to clean up any minor damage.

Source Tip Inspection

  • The source tip should have a clear, square-edged point.
  • If the tip is worn, smooth, or rounded, it should be replaced.
  • Dents or grooves from screw-on collimators are a sign the tube should be taken out of service.

Jumper Connector Test (Periodically)

To check for internal blockages:

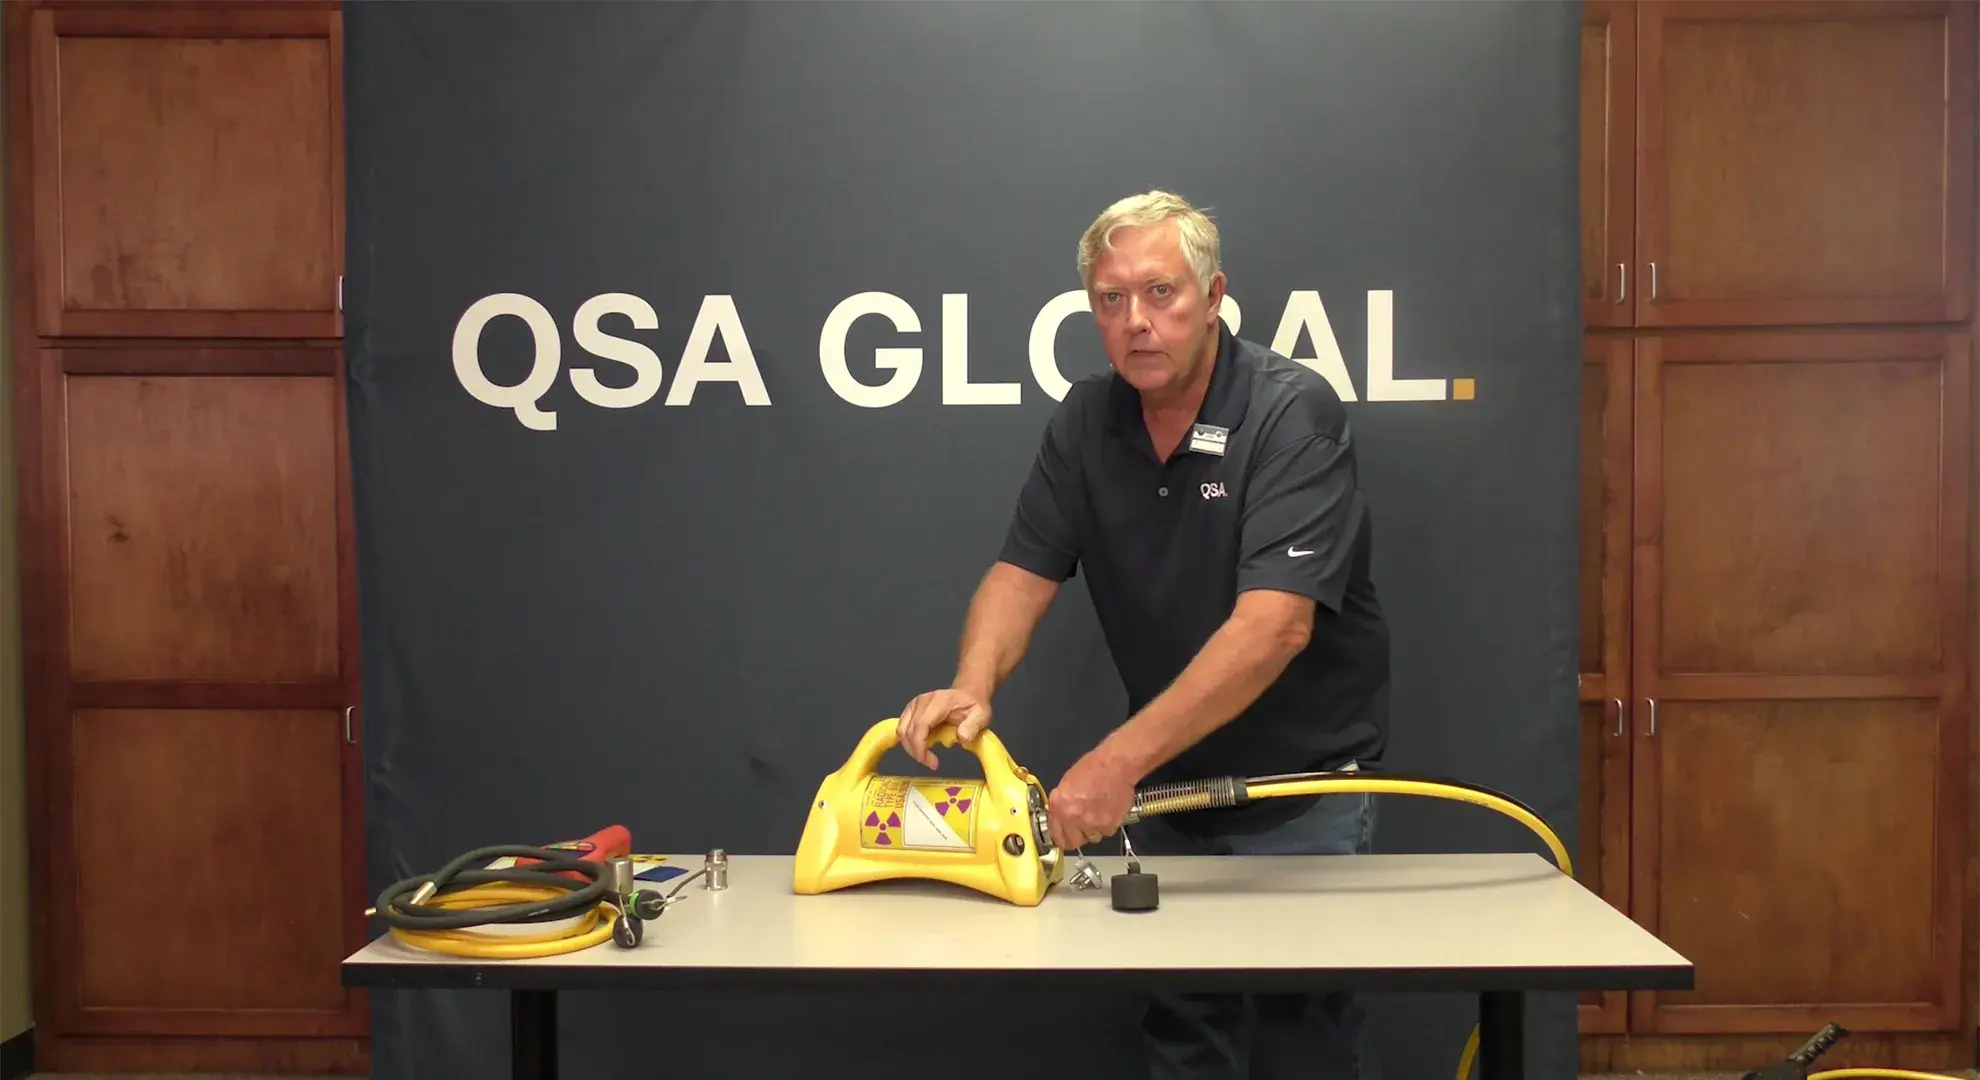
  • Connect a short piece of drive cable to a jumper connector (same diameter as a source assembly)
  • Pass it through the guide tube
  • If it moves freely, the internal path is clear
  • If it snags, stop and investigate further before use

Collimator Handling

  • Always loosen the screw on a screw-on collimator before turning
  • Turning it while the screw is tight can create a groove or dent in the source tip
  • If you can feel an indentation, remove the guide tube from service

Why These Inspections Are Important

Most source retrievals we encounter stem from damage that could have been caught in a 2-minute inspection. A careful look each day protects your team, your equipment, and your schedule.

If you’re unsure about the integrity of your guide tube, contact QSA Global. We’ll inspect, advise, and make sure you’re operating safely and efficiently.


Note: This guide focuses on basic guide tube inspection procedures only. Additional safety protocols, emergency procedures, and specific regulatory requirements may apply based on jurisdiction and facility requirements. Always consult your company's radiation safety procedures, applicable safety manuals, and current regulatory guidelines for complete requirements.