Related Posts
-

The Importance of Maintaining Your Co-60 Sources
Cobalt‑60 (Co‑60) exposure devices used in industrial radiography are engineered for long‑term operation and reliability. While many devices and ...
-
Daily Gamma Radiography Equipment Inspection: A Step-by-Step Guide
Daily equipment inspection is a crucial safety requirement before performing gamma radiography. Both Agreement State and NRC regulations mandate ...
-
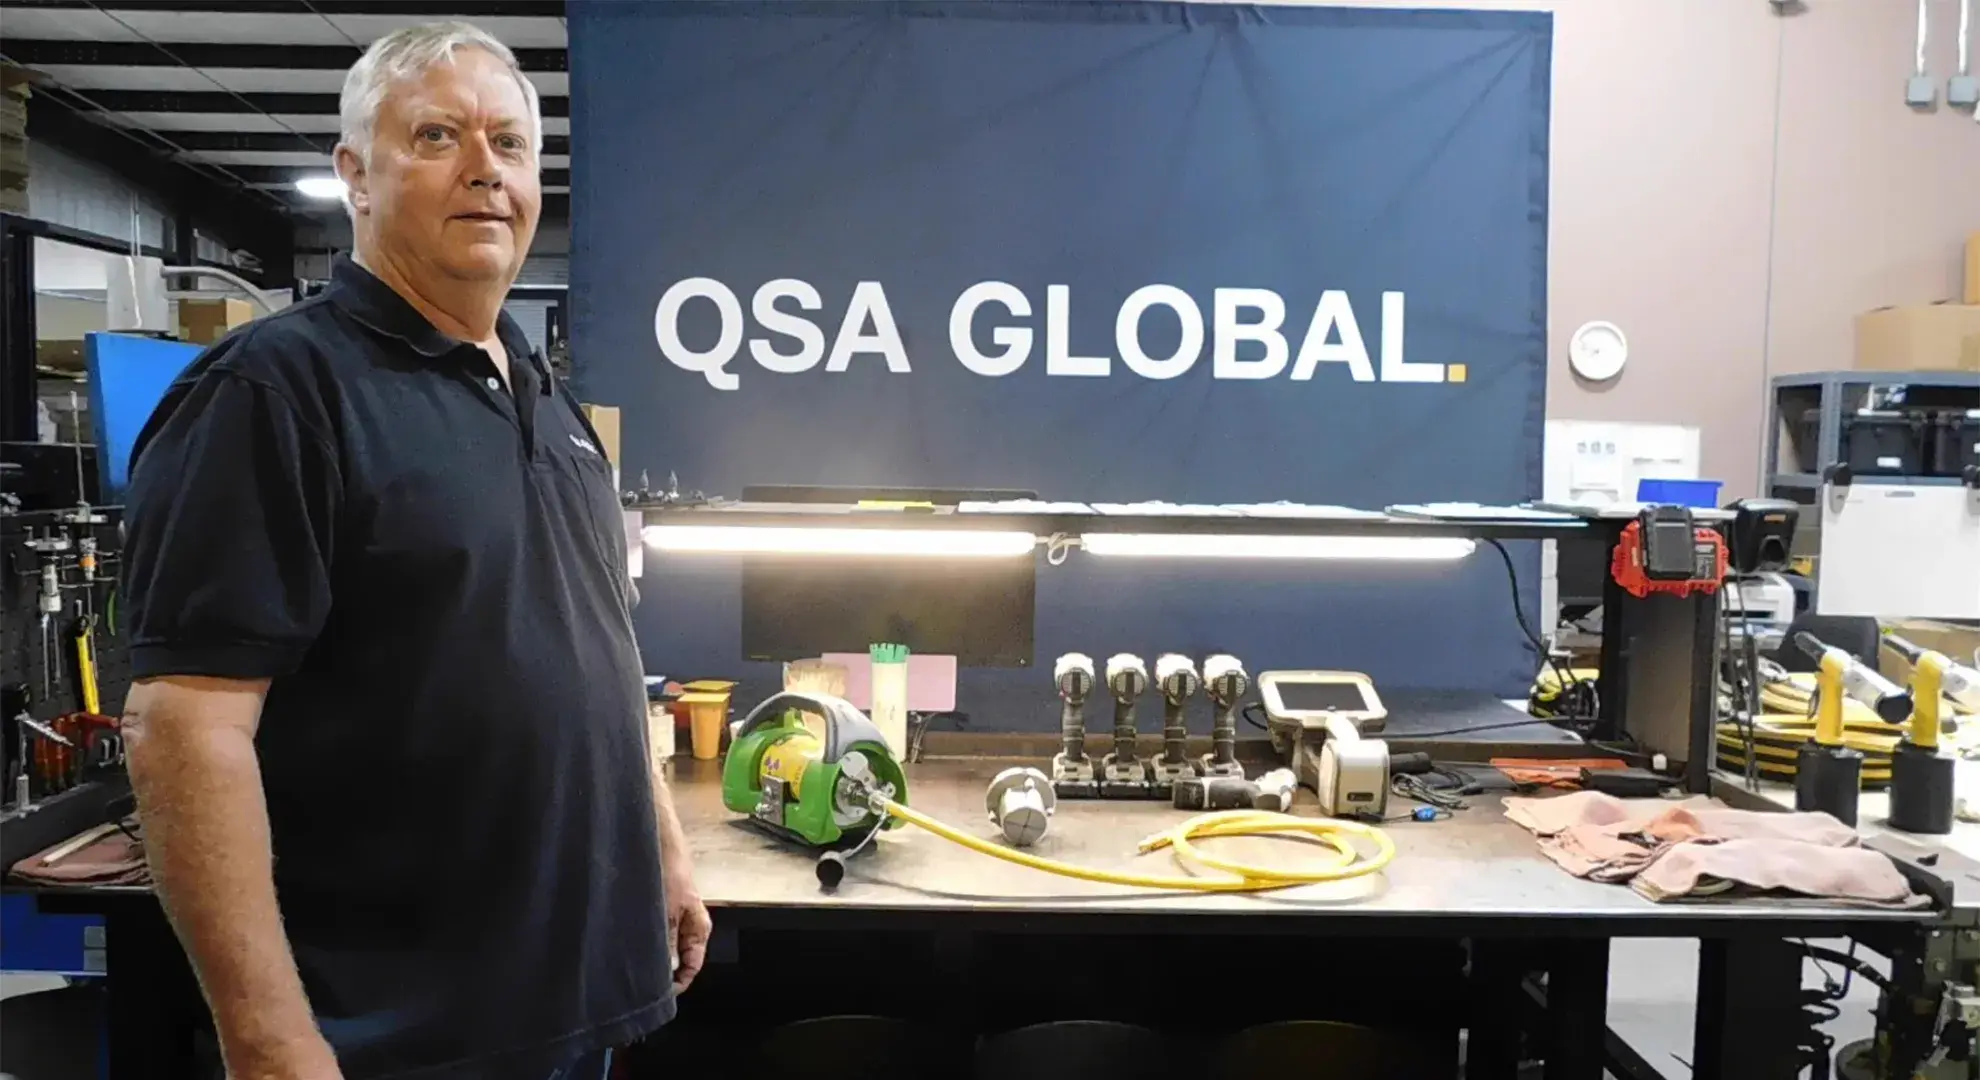
How to Convert the 1075 SCARPro from Projection to SCAR Configuration
In this step-by-step walkthrough, Theo Ewing from our Baton Rouge Service Center demonstrates the process for switching the 1075 SCARPro ...
-
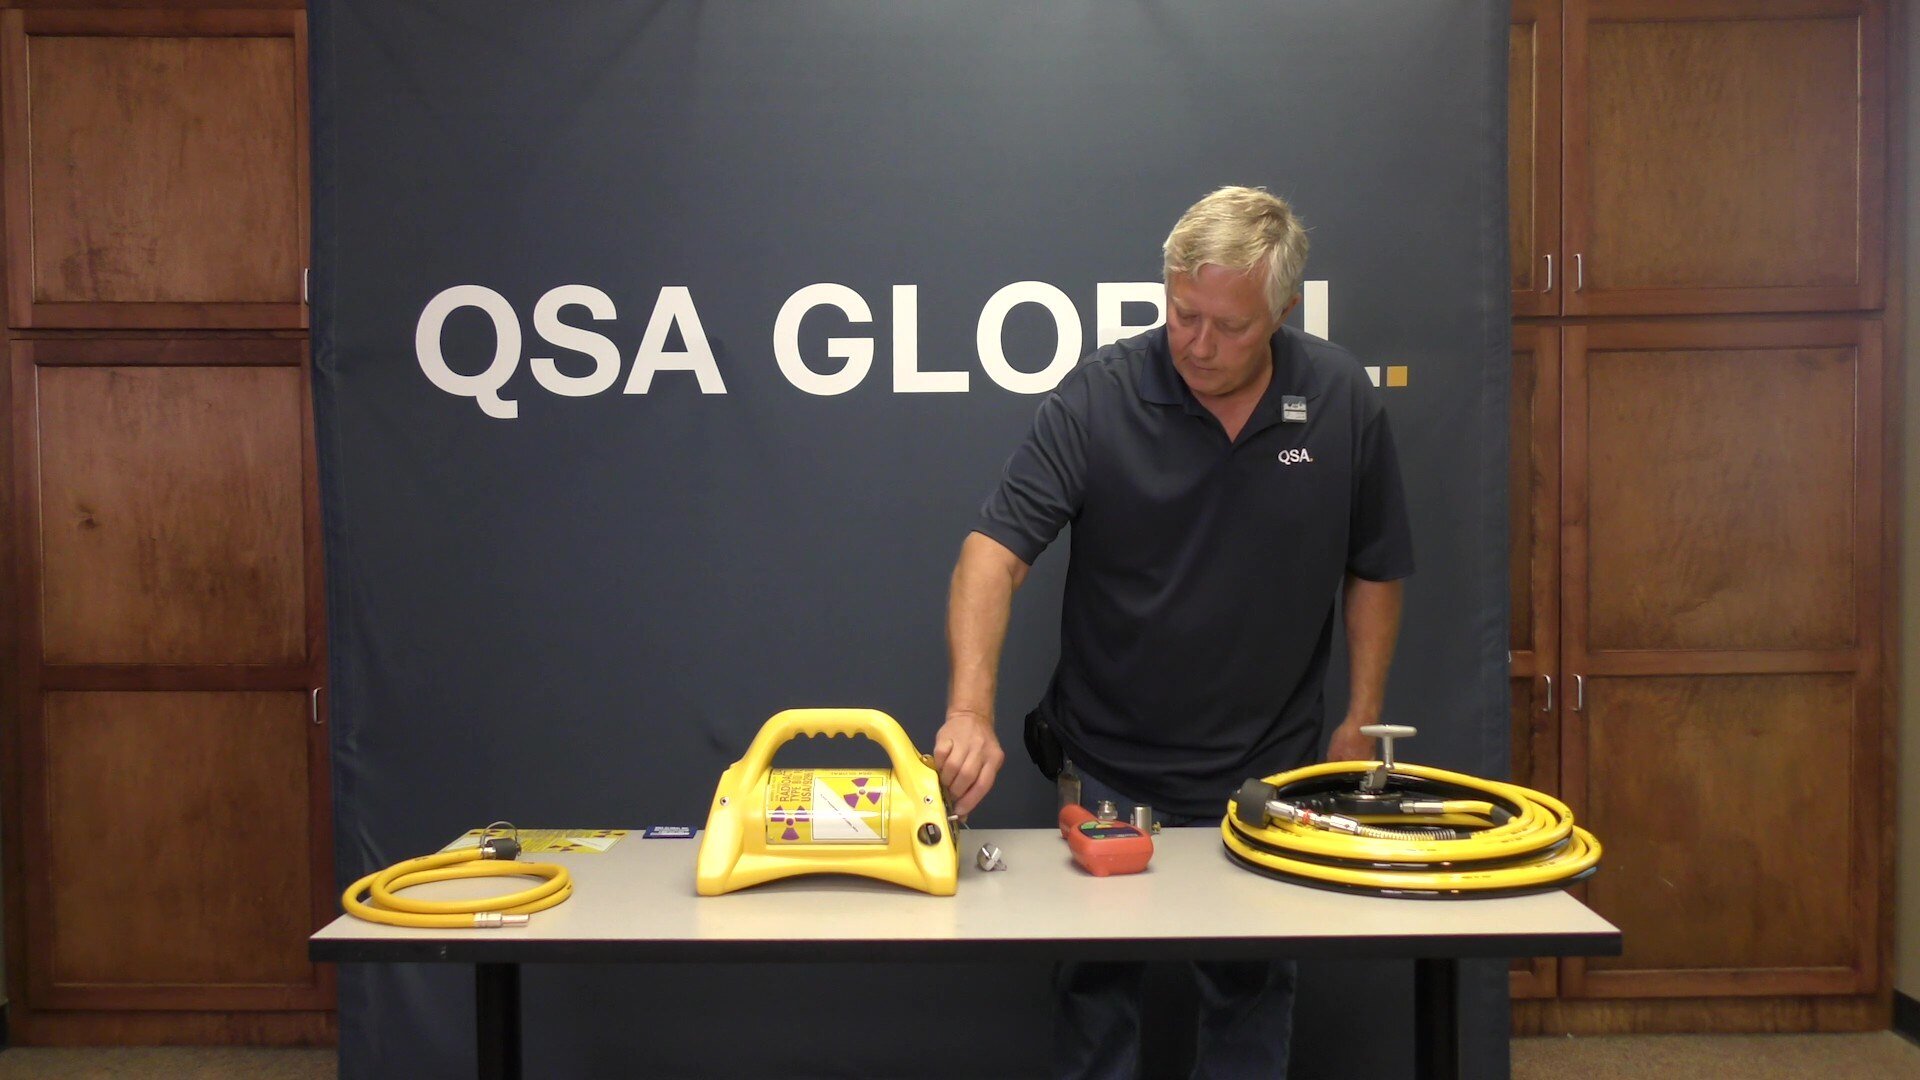
How to Perform a Misconnect Test: Safety Procedure for RSOs
The 30-second misconnect test is a mandatory safety procedure, required by radiation safety regulations, that verifies if your radiography ...
-
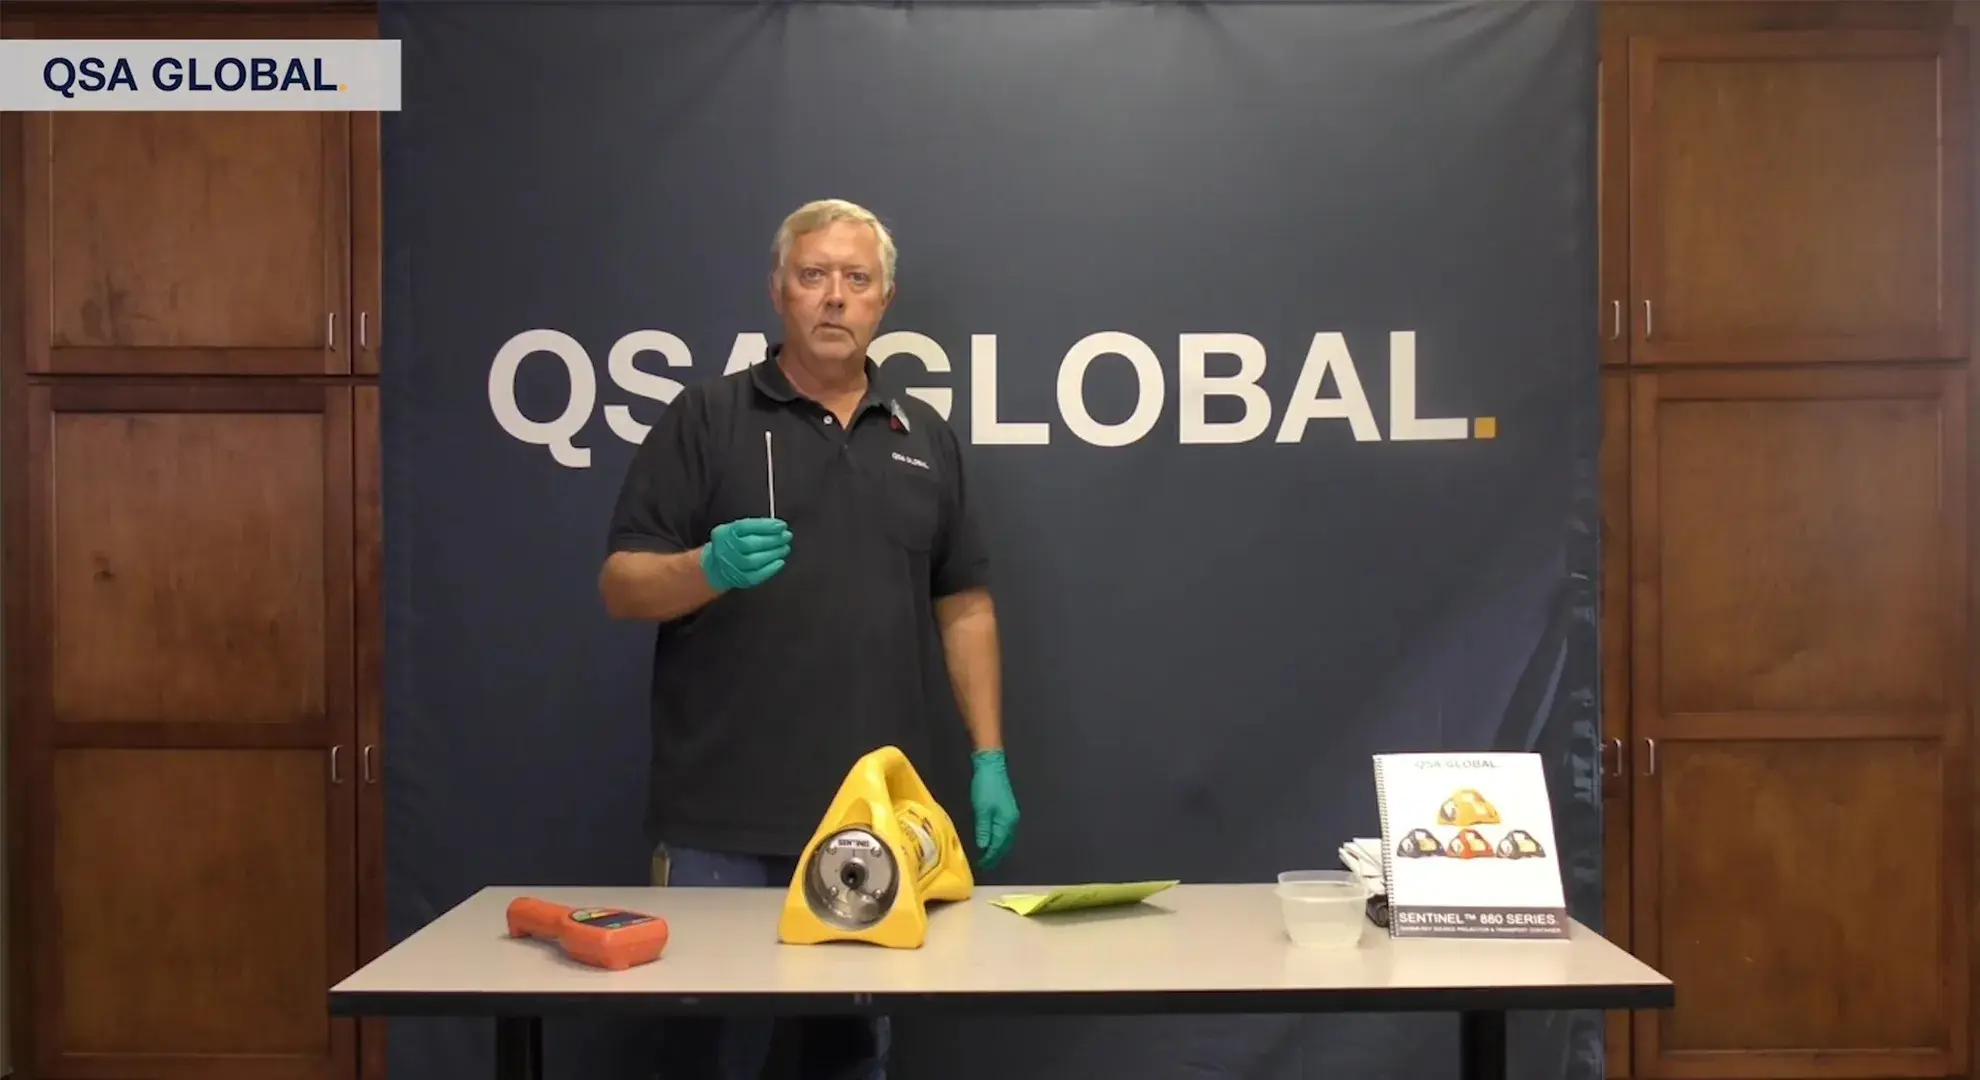
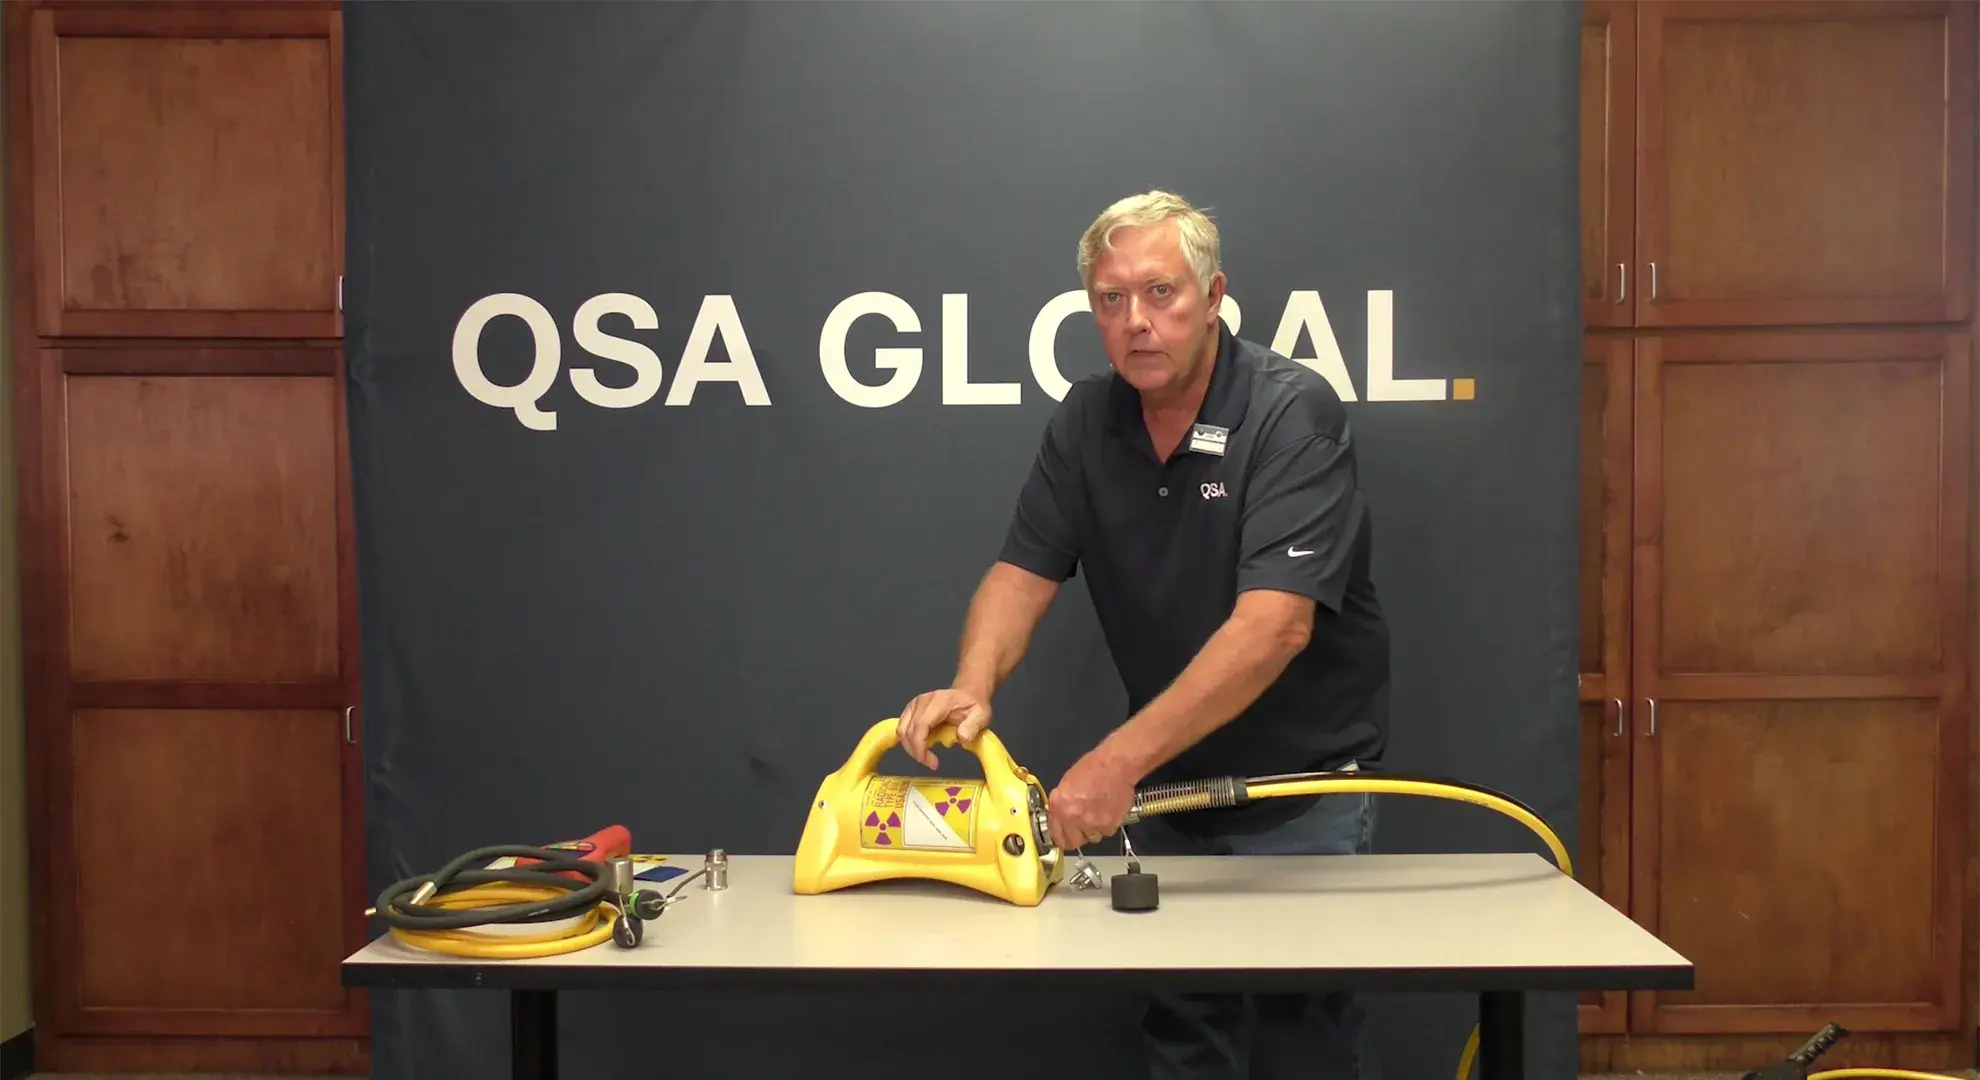
How to Perform a Leak Test on Your Gamma-Ray Source Projector
Performing a leak test on your gamma radiography projector is a required part of maintaining compliance with NRC and Agreement State regulations. ...
-

Calculating Exposure Time in Gamma Radiography: A Comprehensive Guide
Learn how to calculate exposure time in gamma radiography with this comprehensive guide. Discover the factors that affect exposure time and the ...
-
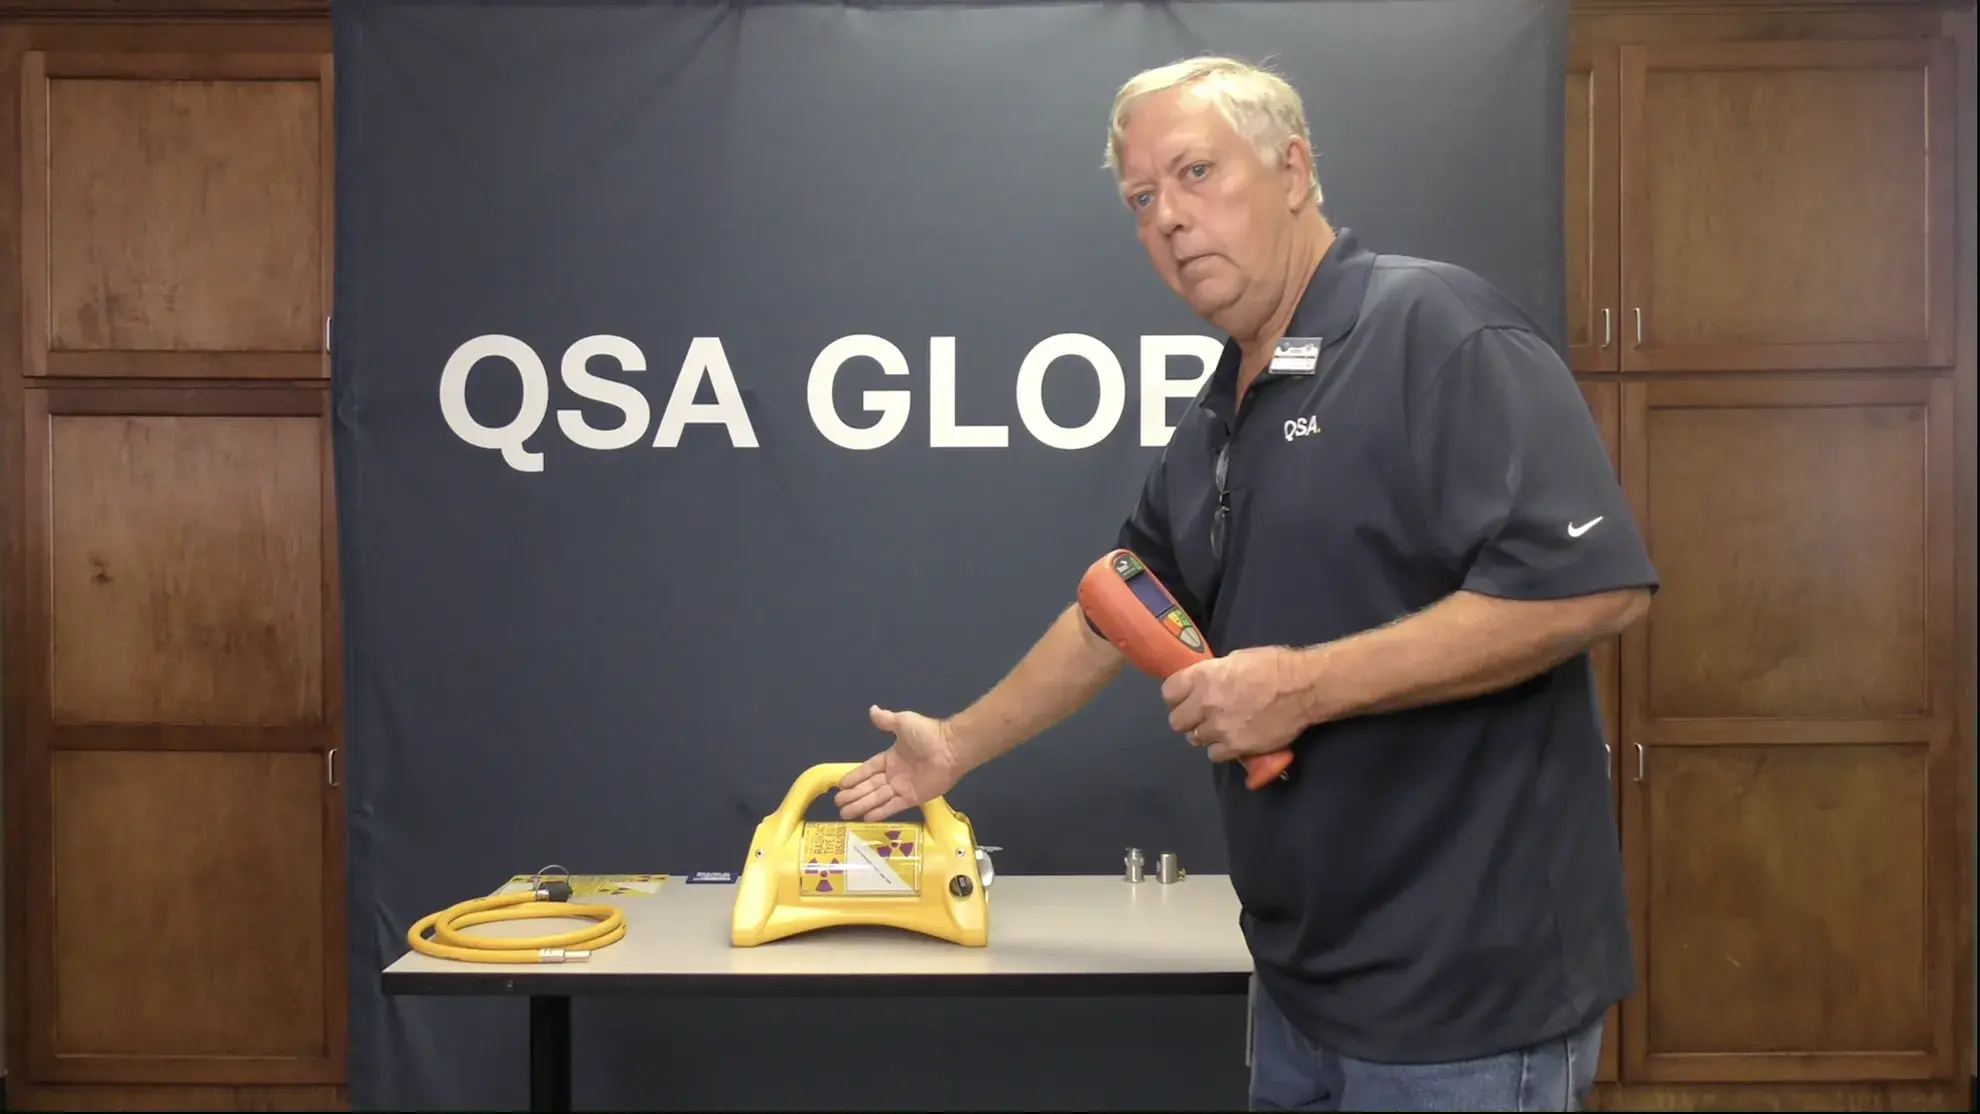
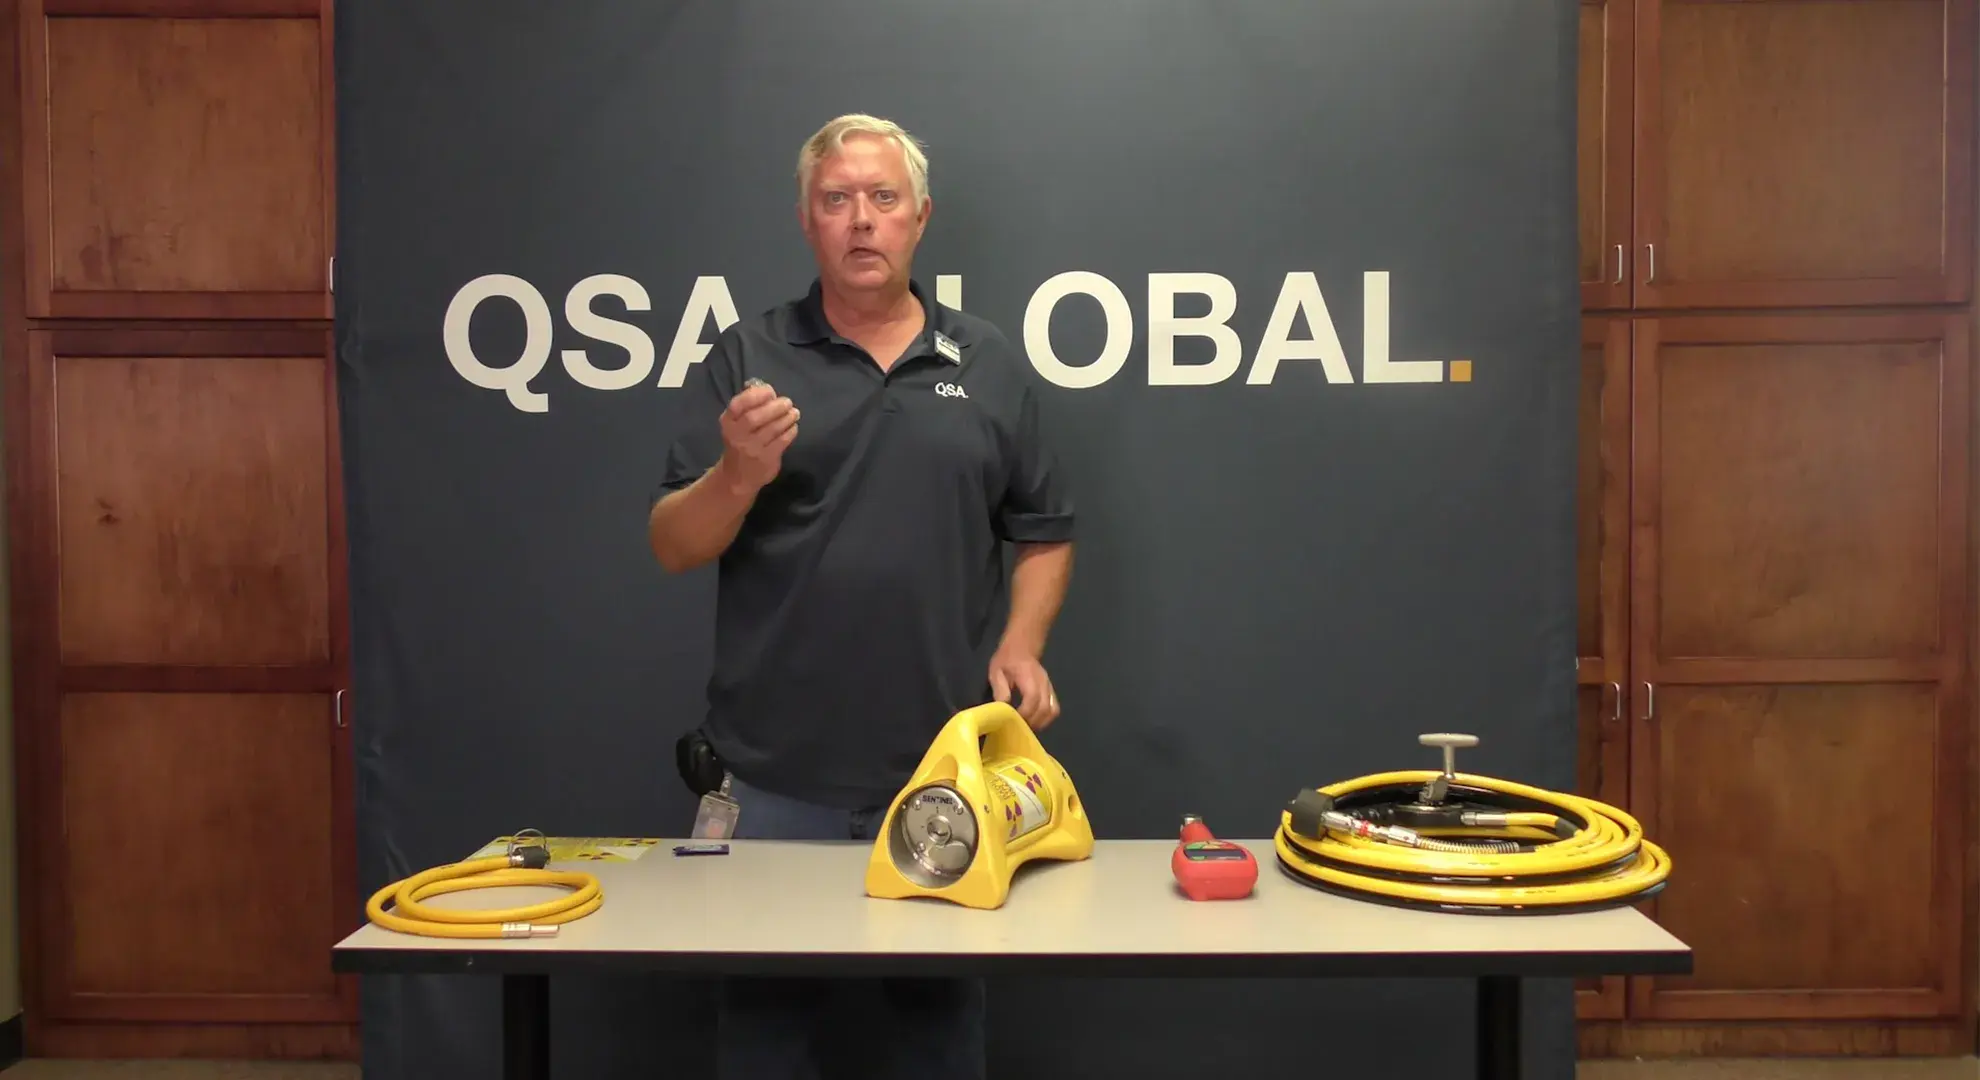
How to Perform a Radiation Survey on a Loaded Gamma Projector
If you’re handling a gamma projector, be it coming in through your transport or coming off the rig onto the job site, the first thing you should ...
-
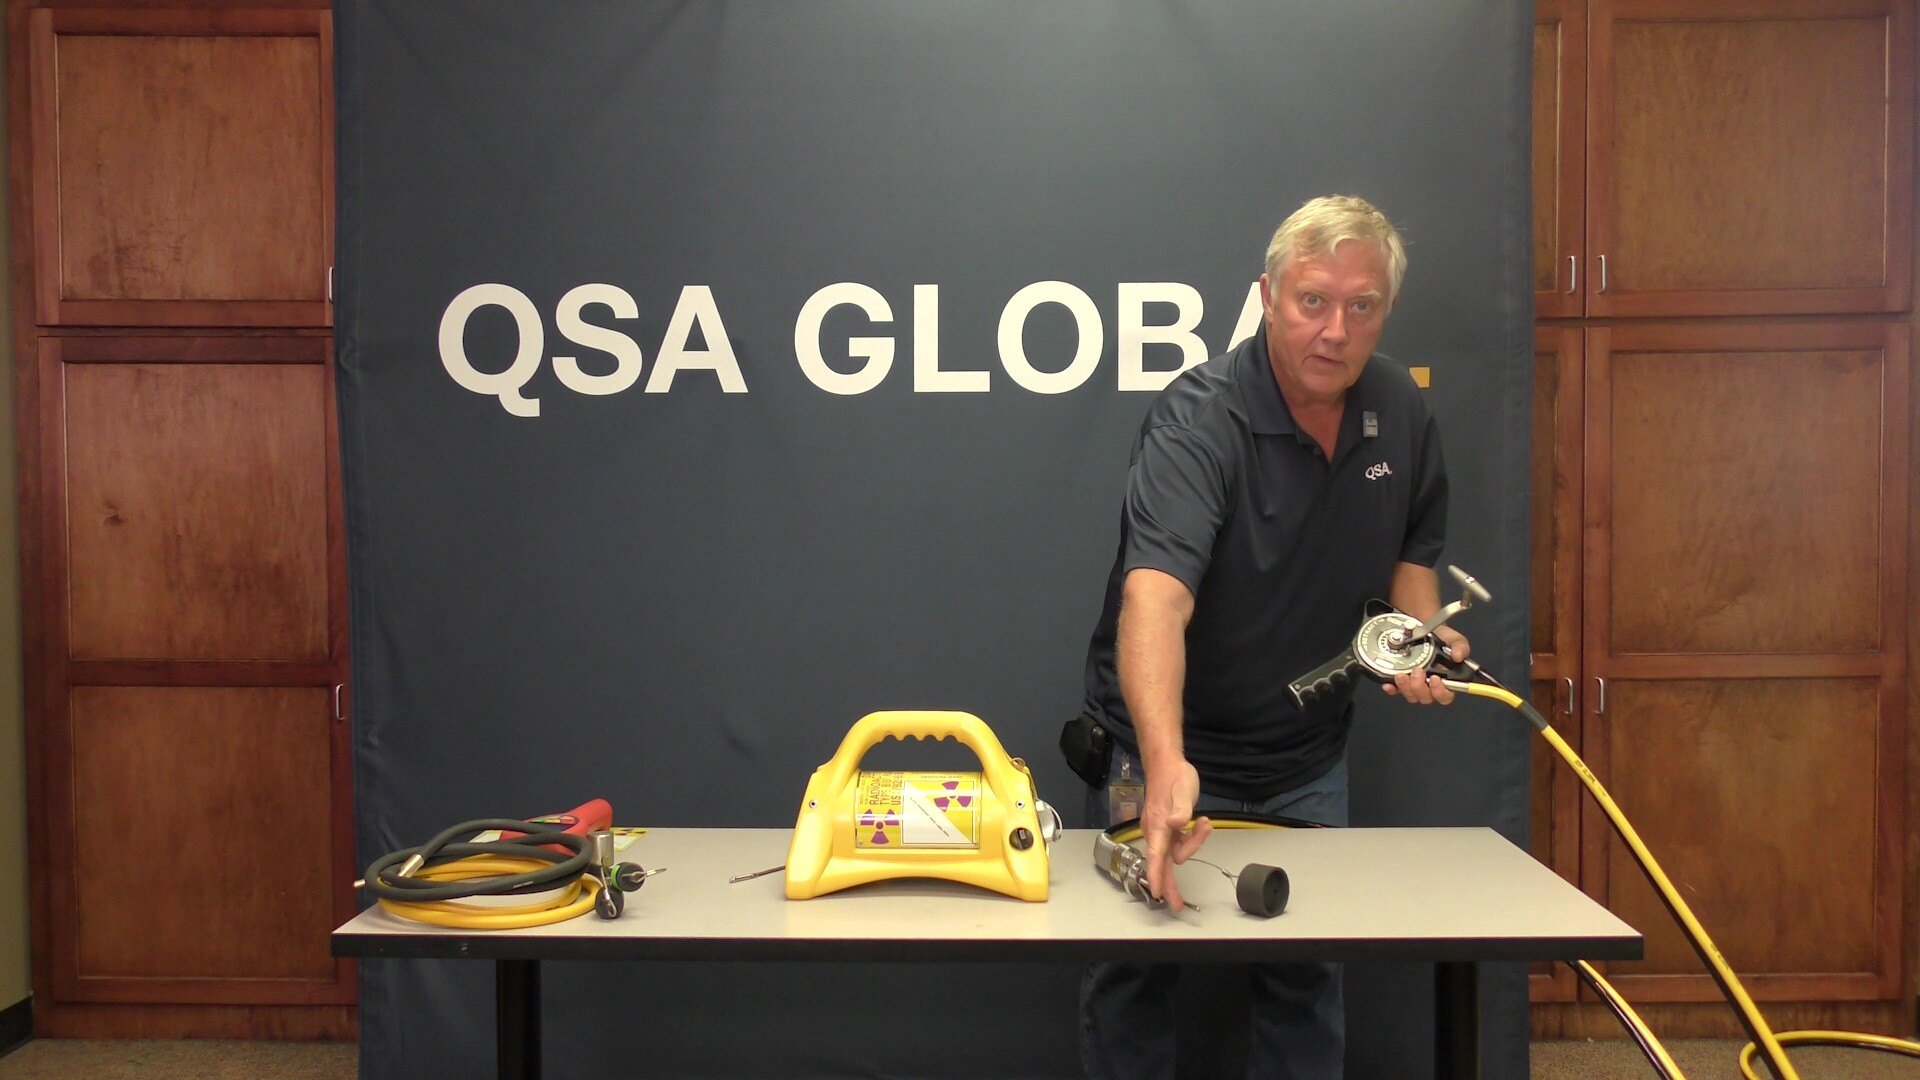
How to Inspect Drive Cables: A Field-Ready Guide for NDT Techs
Drive cables take a beating. Between setup, teardown, transport, and exposure to rough site conditions, they're one of the first components to ...
-
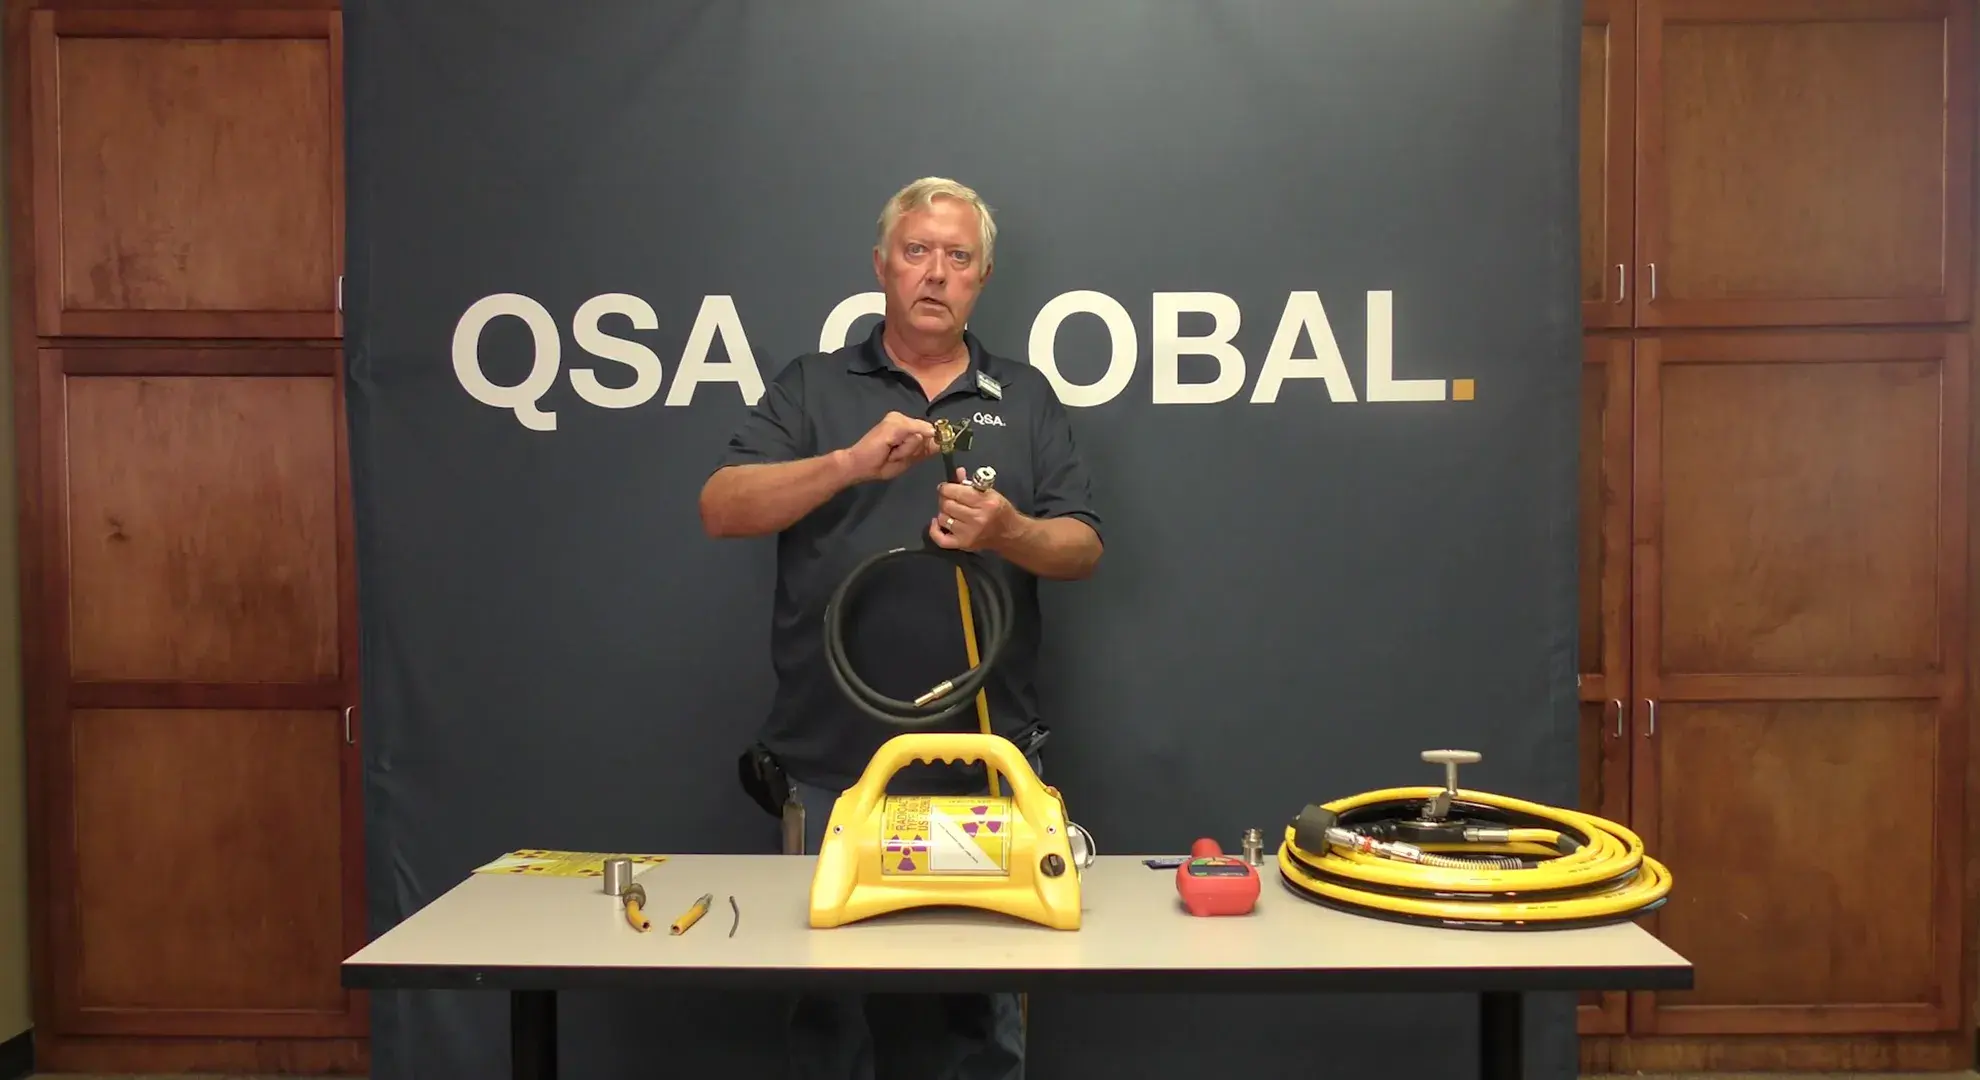
How to Inspect Guide Tubes: A Field-Ready Guide for NDT Techs
Routine inspection of guide tubes and collimators helps prevent source retrievals and ensures equipment remains safe and functional. The steps ...