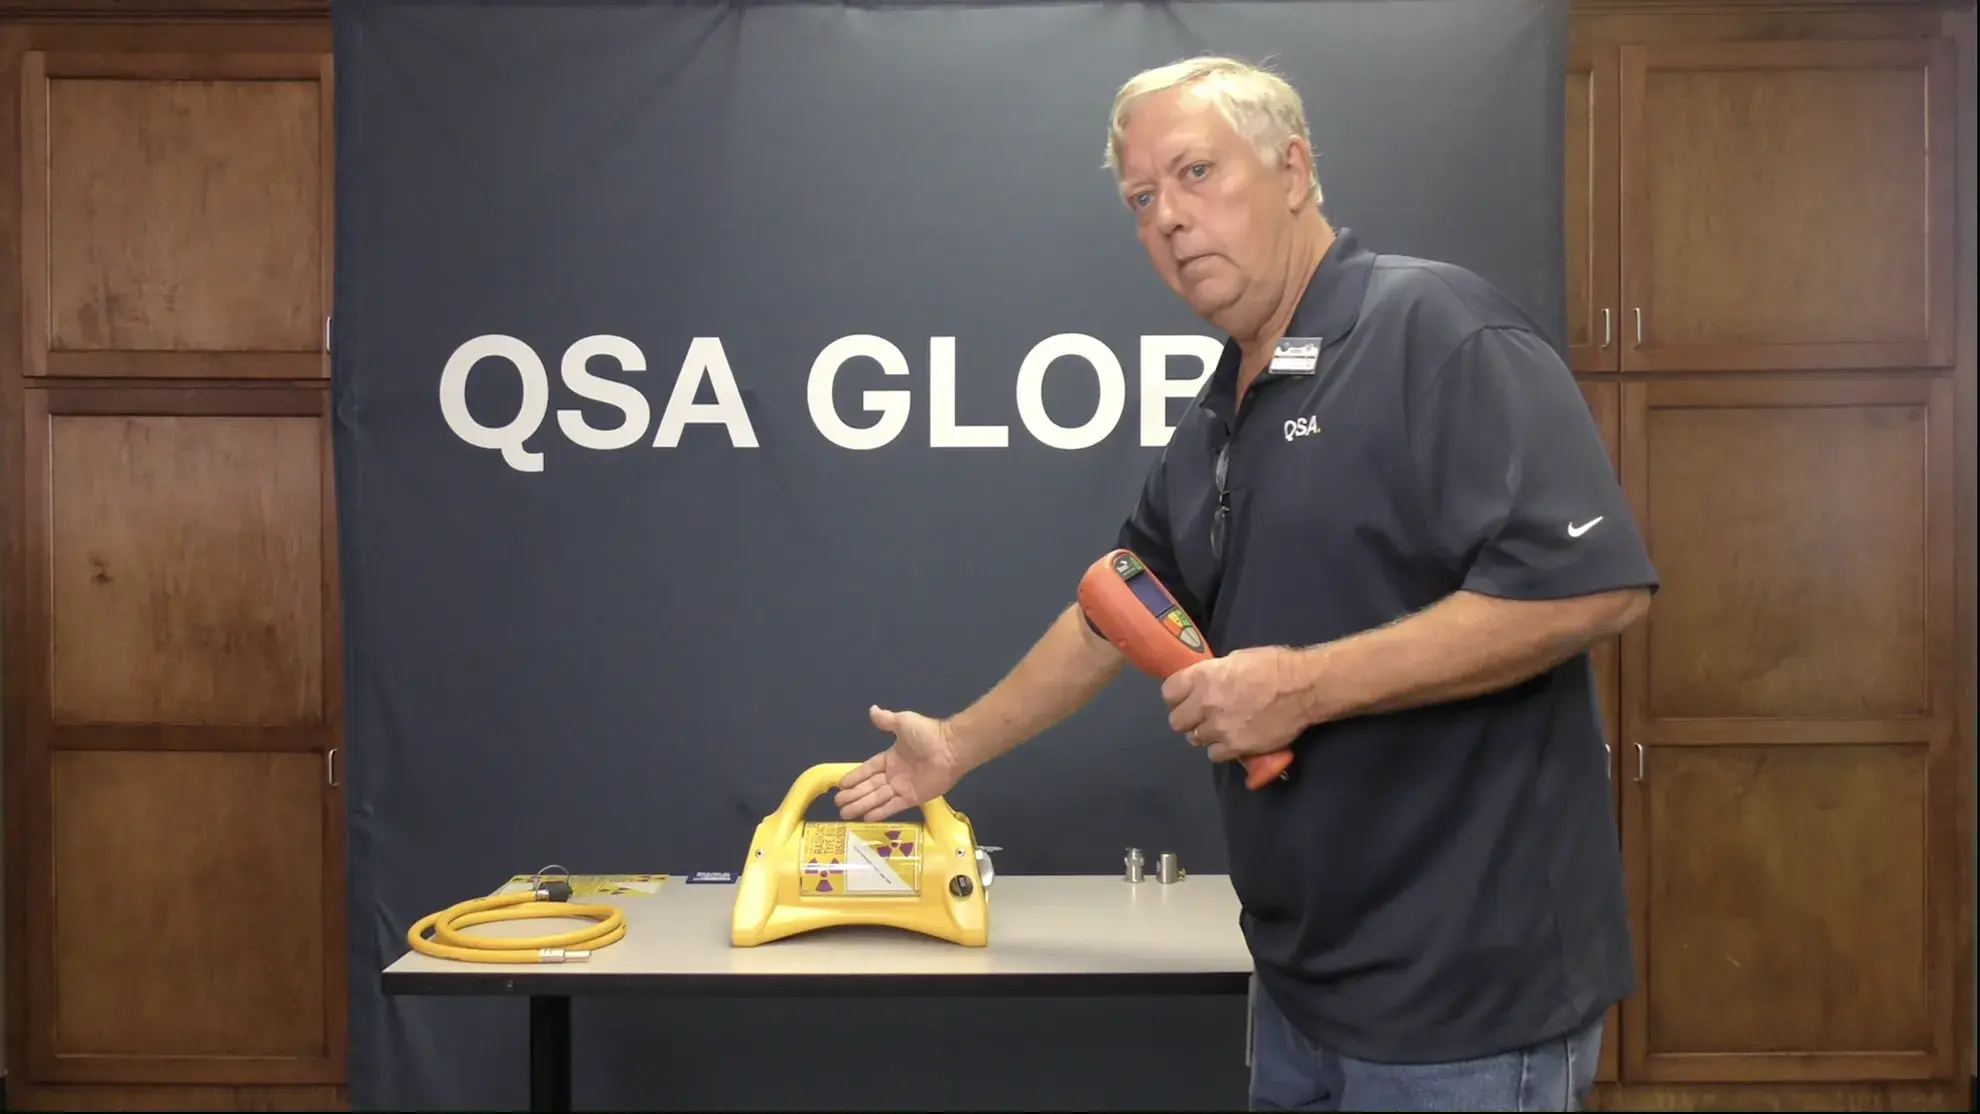
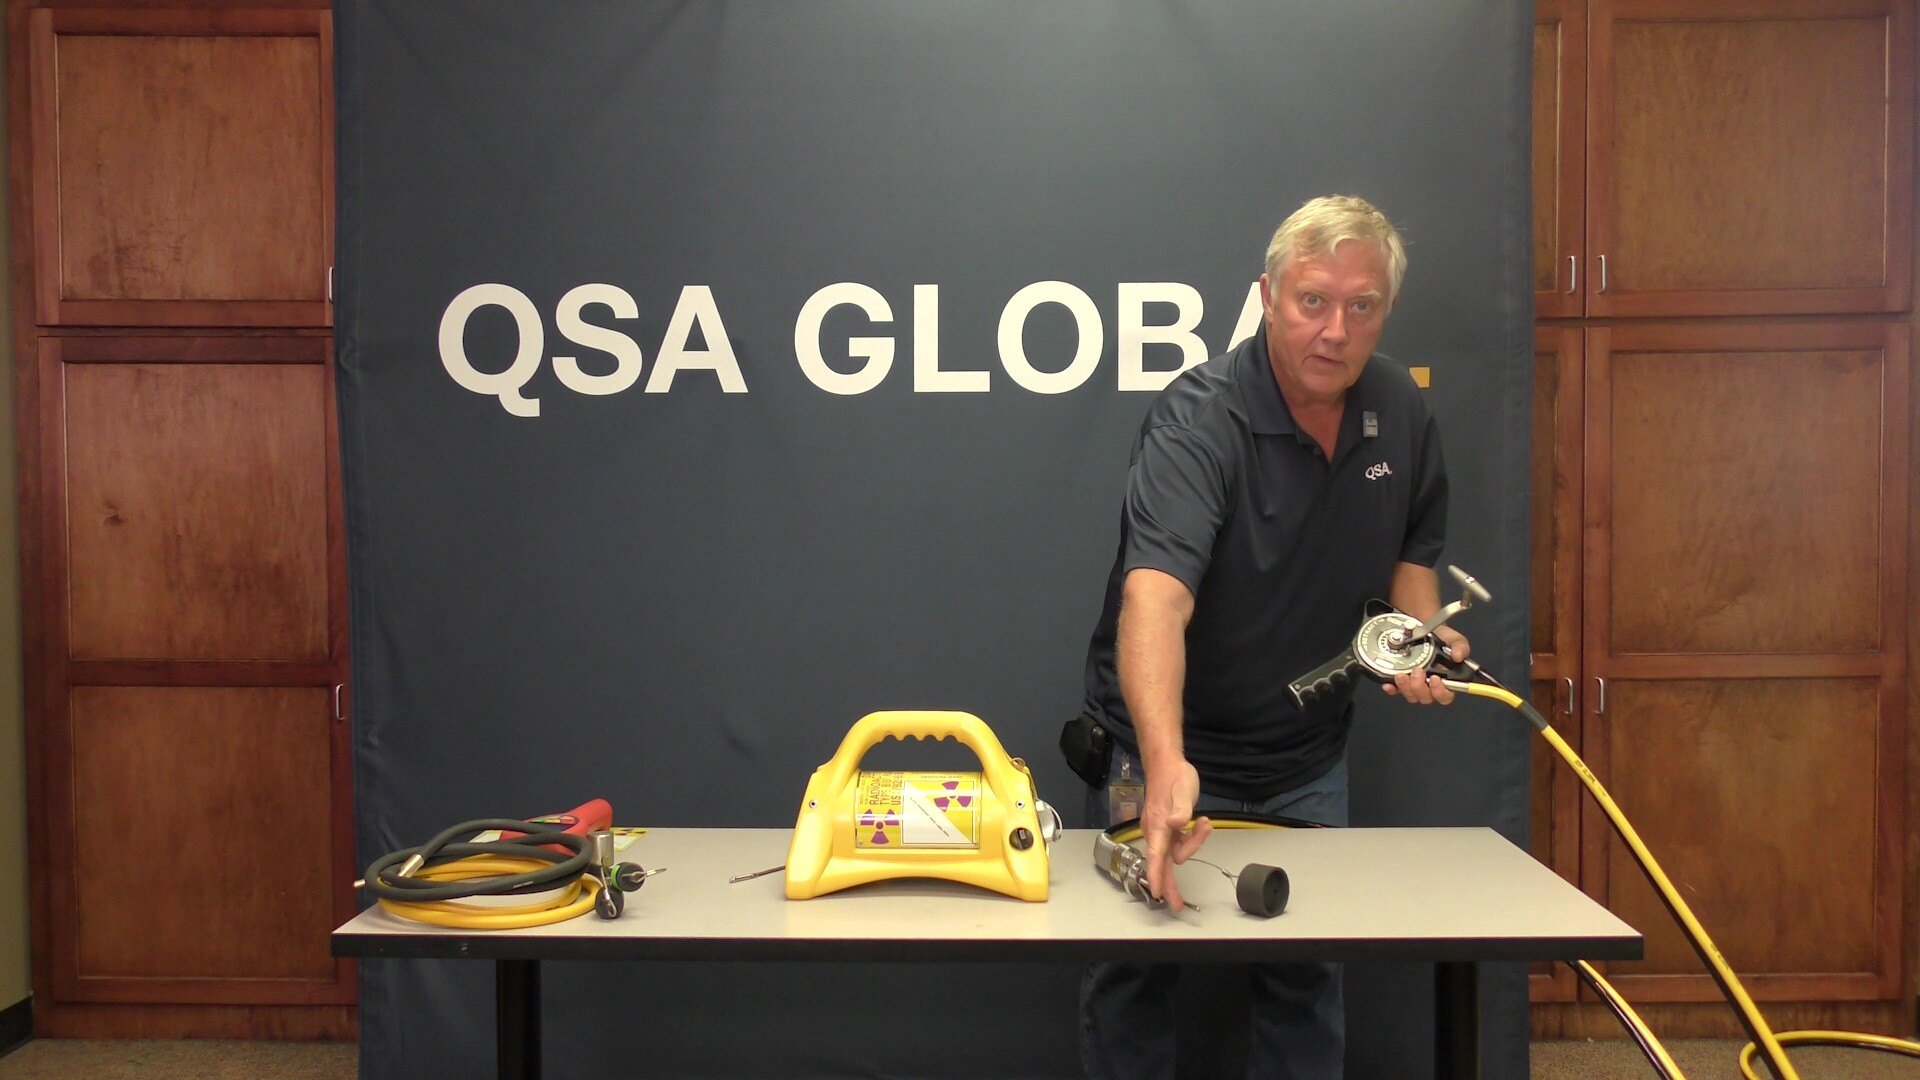
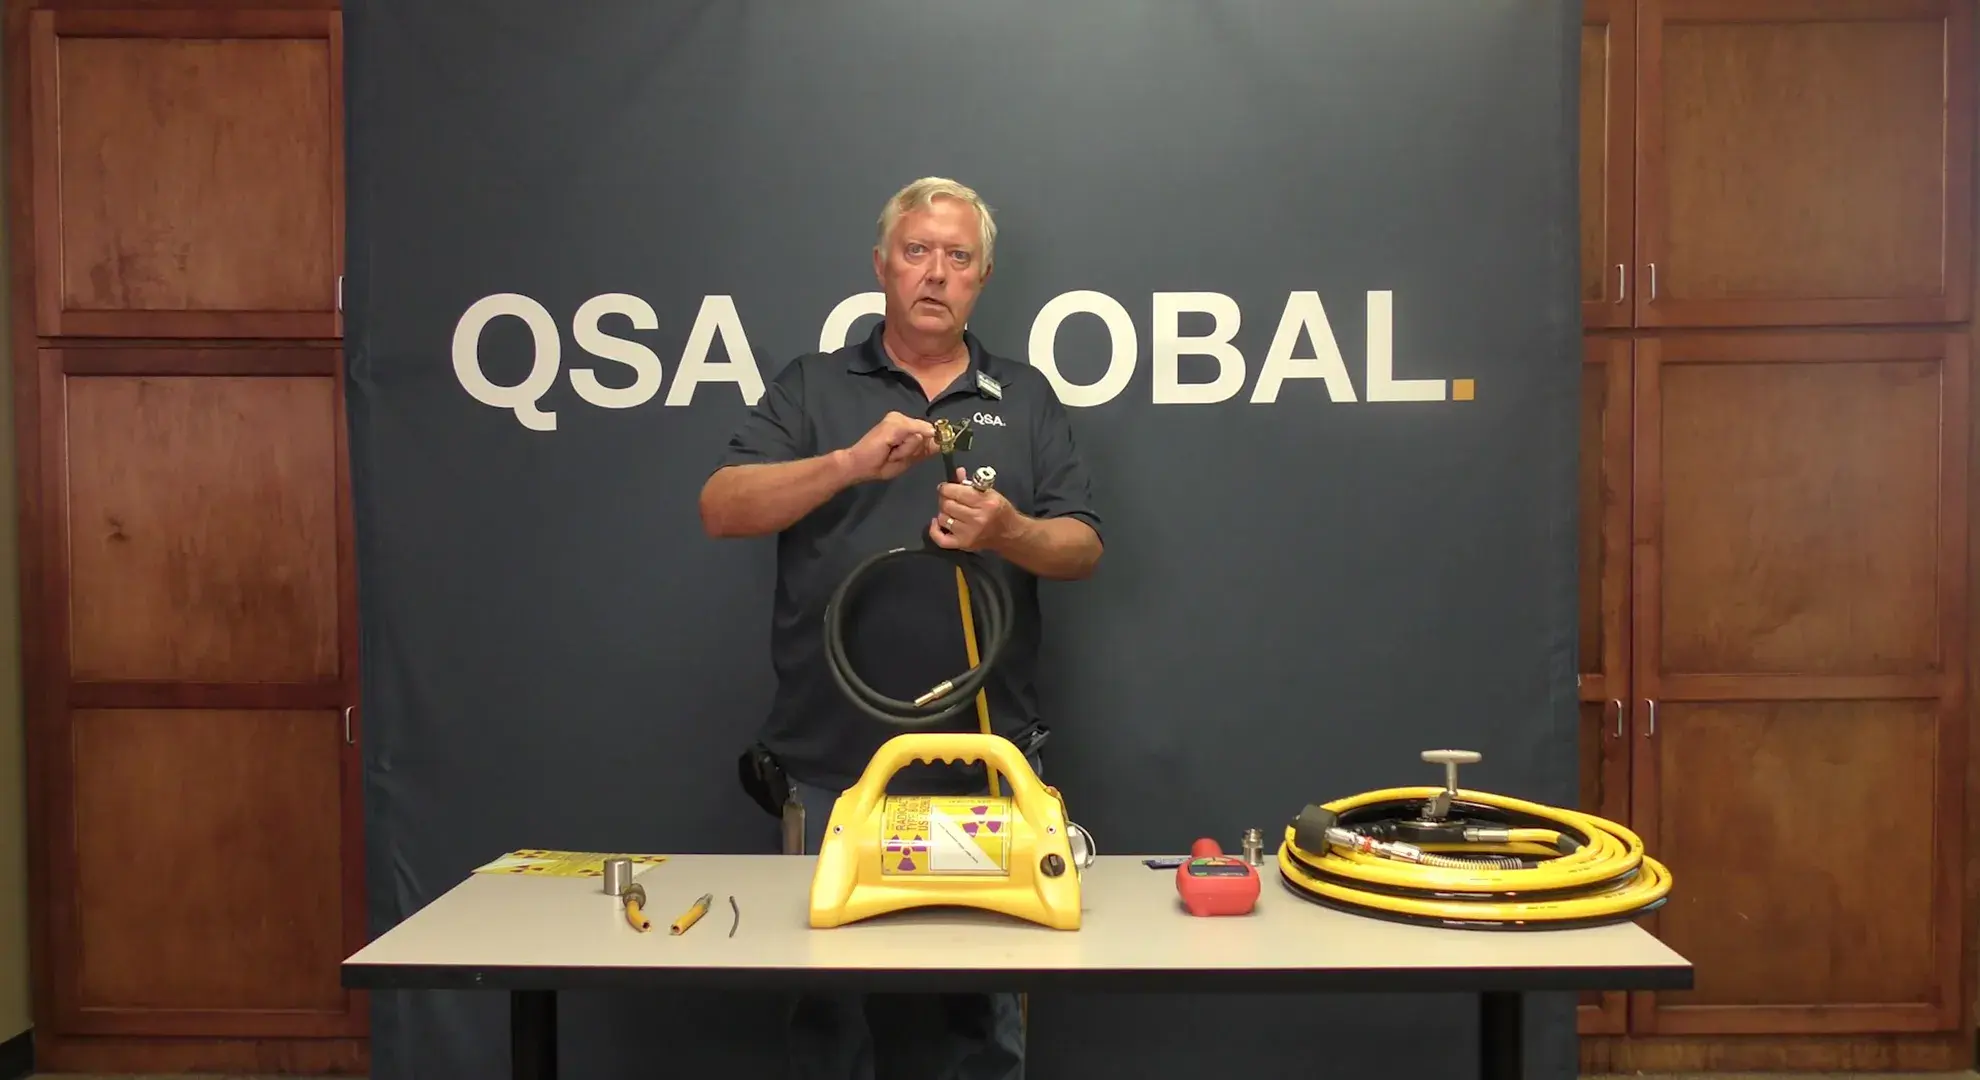
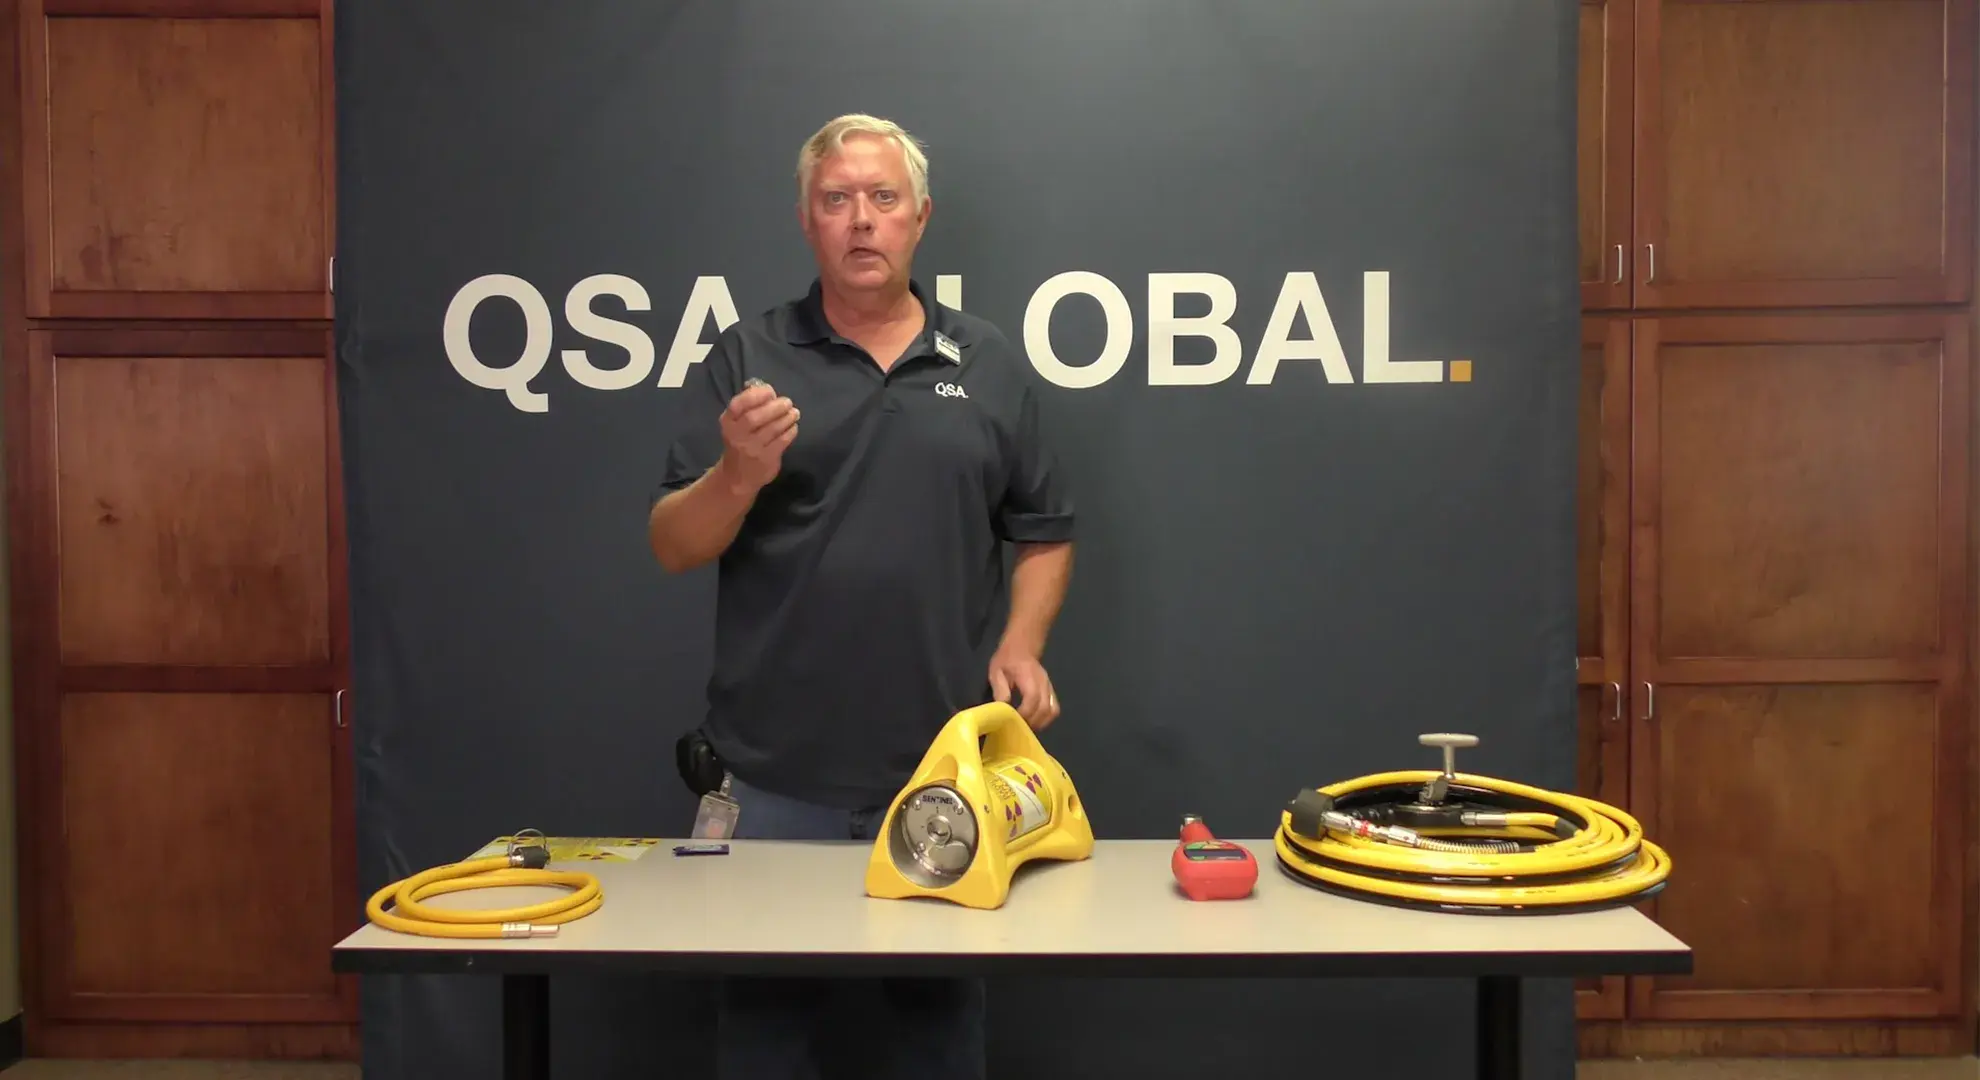
Performing a leak test on your gamma radiography projector is a required part of maintaining compliance with NRC and Agreement State regulations. It’s also critical for ensuring safety on the job.
This step-by-step guide walks you through the correct way to perform a leak test on gamma-ray source projectors using sealed sources like Ir-192 or Se-75, and depleted uranium shielding components.
Regulatory Requirements
Your Agreement State and NRC regulations require you to:
- Use a registered, certified leak test kit that’s identified with your Agreement State or NRC and listed on your license
- Perform contamination wipes on sealed sources every 6 months
- Perform wipes on depleted uranium (DU) bodies every 12 months
- Detect contamination that may exceed 0.005 microcuries
What You’ll Need
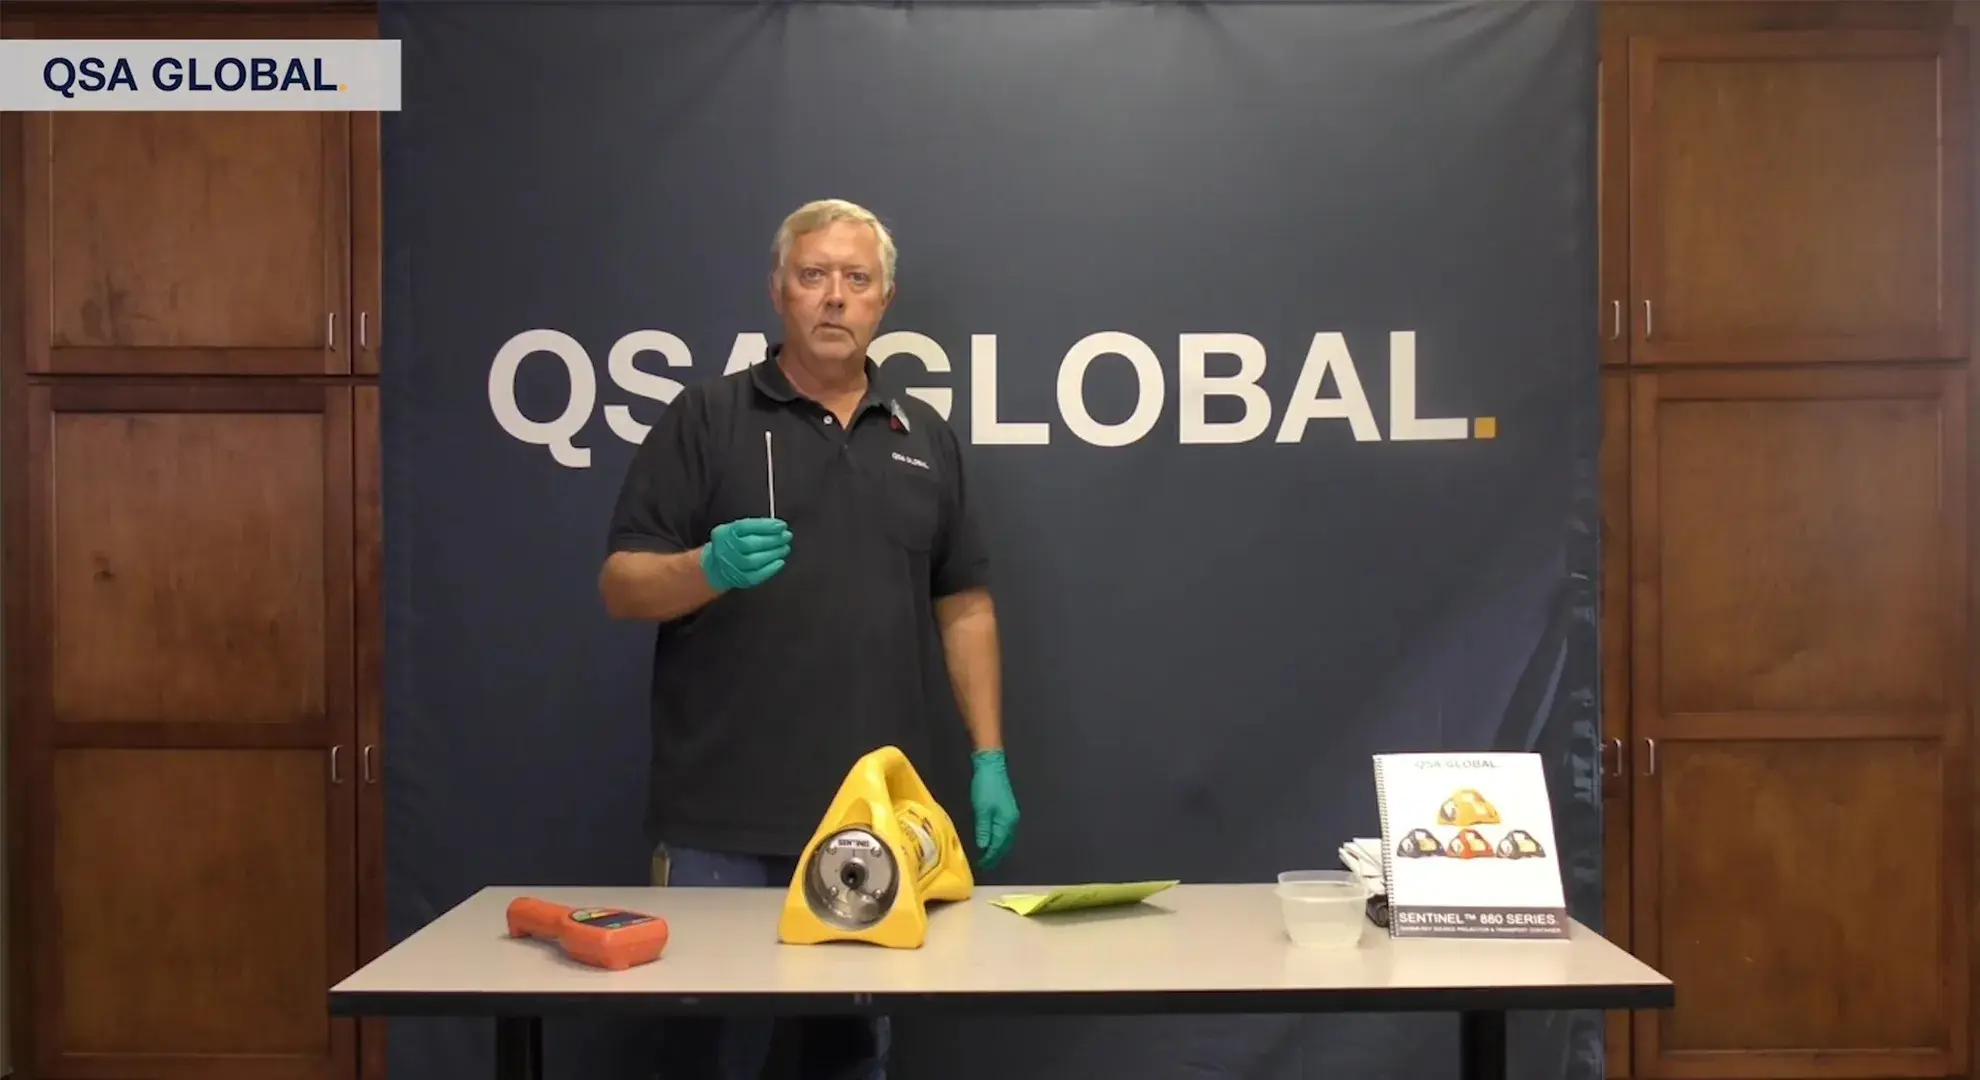
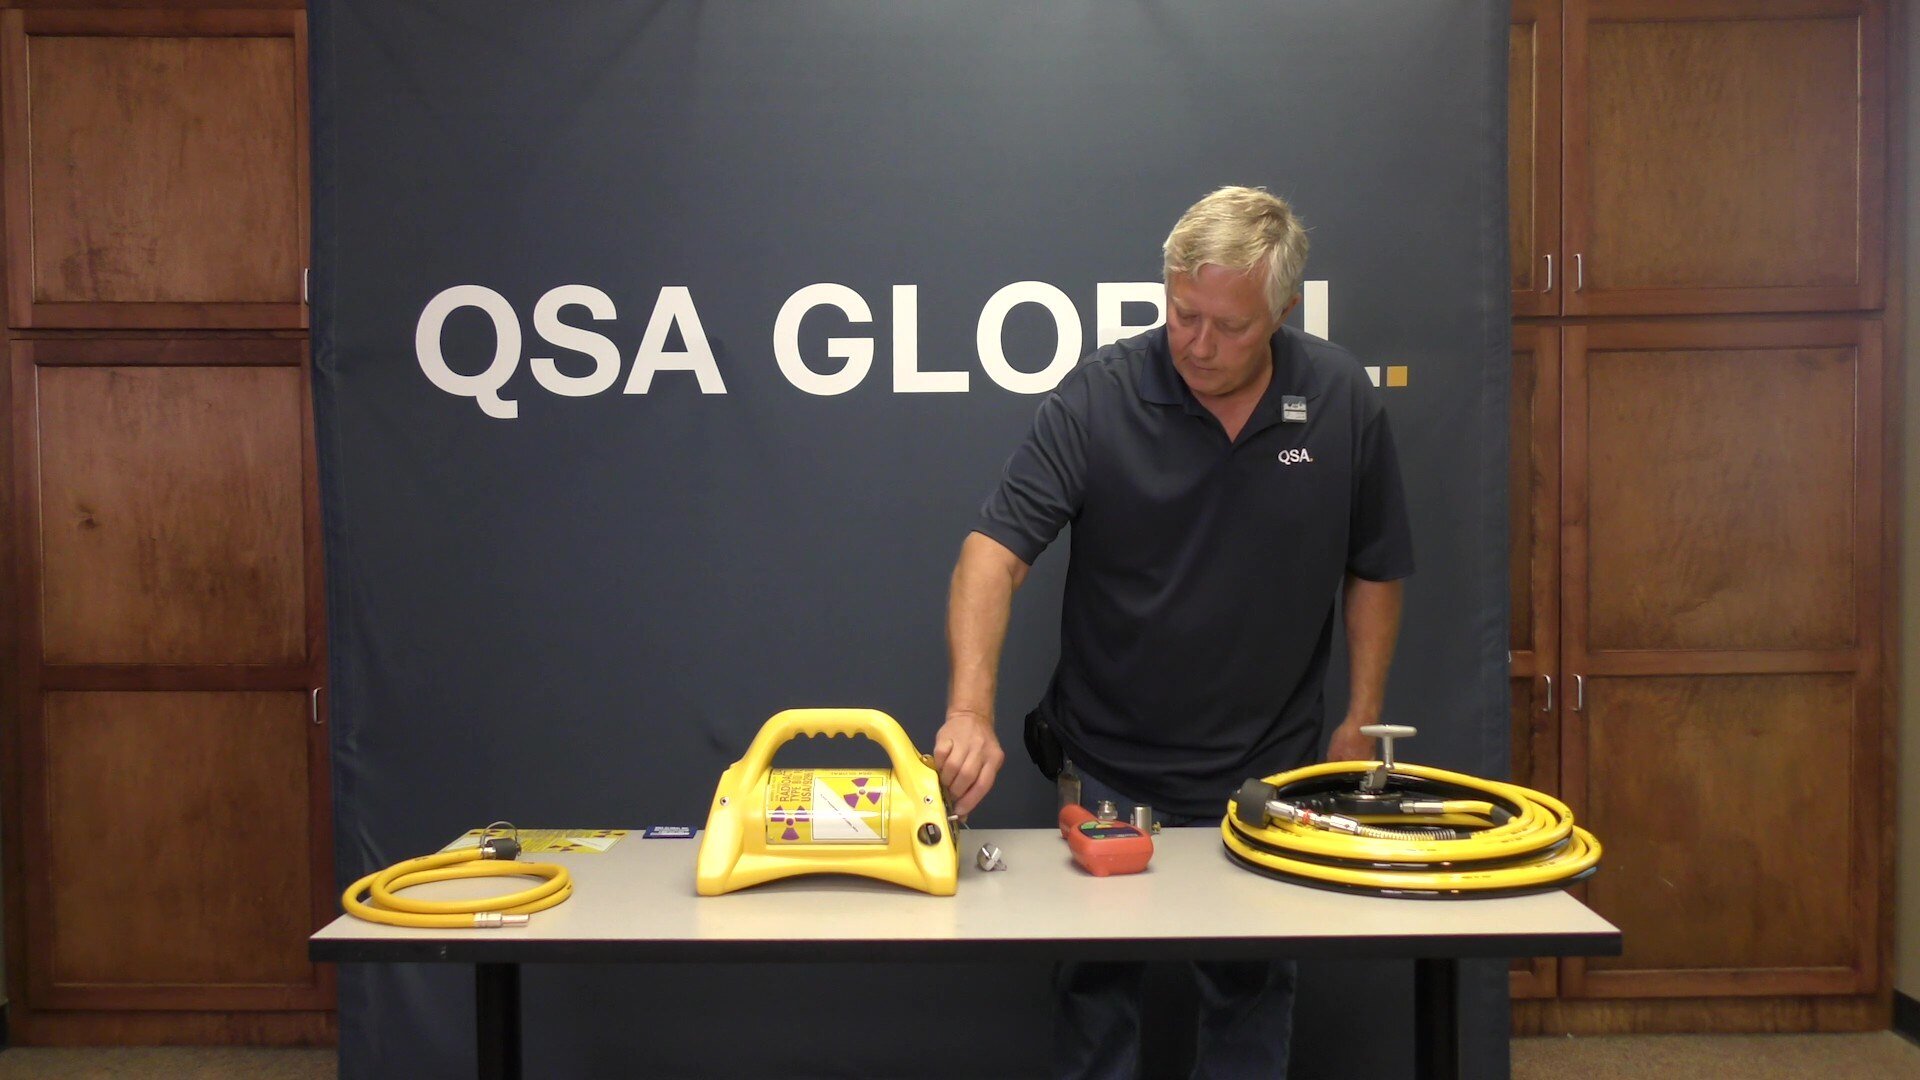
- QSA Global 518-CO-Wipe Leak Test Kit
- Latex or nitrile gloves
- Small container of clean water
- Radiation survey meter
- Leak test nut (provided with your gamma-ray source projector)
Step 1: Preparation
You’re testing for activity that may exceed 0.005 microcuries, and you want to avoid contact with any radioactive material. Assume contamination is present and always put on latex or nitrile gloves before handling your projector or test kit.
Complete the information on the leak test kit:
- Technician’s name and company
- Complete address
- Date of the wipe test
- Isotope (e.g., Ir-192)
- Serial number on the projector
Step 2: Install the Leak Test Nut
- Before installing the leak test nut, confirm that the sealed source is fully retracted and locked in the shielded position.
- Make sure the port is pointed away from your body and that you are standing off to the side, not directly in front of the port.
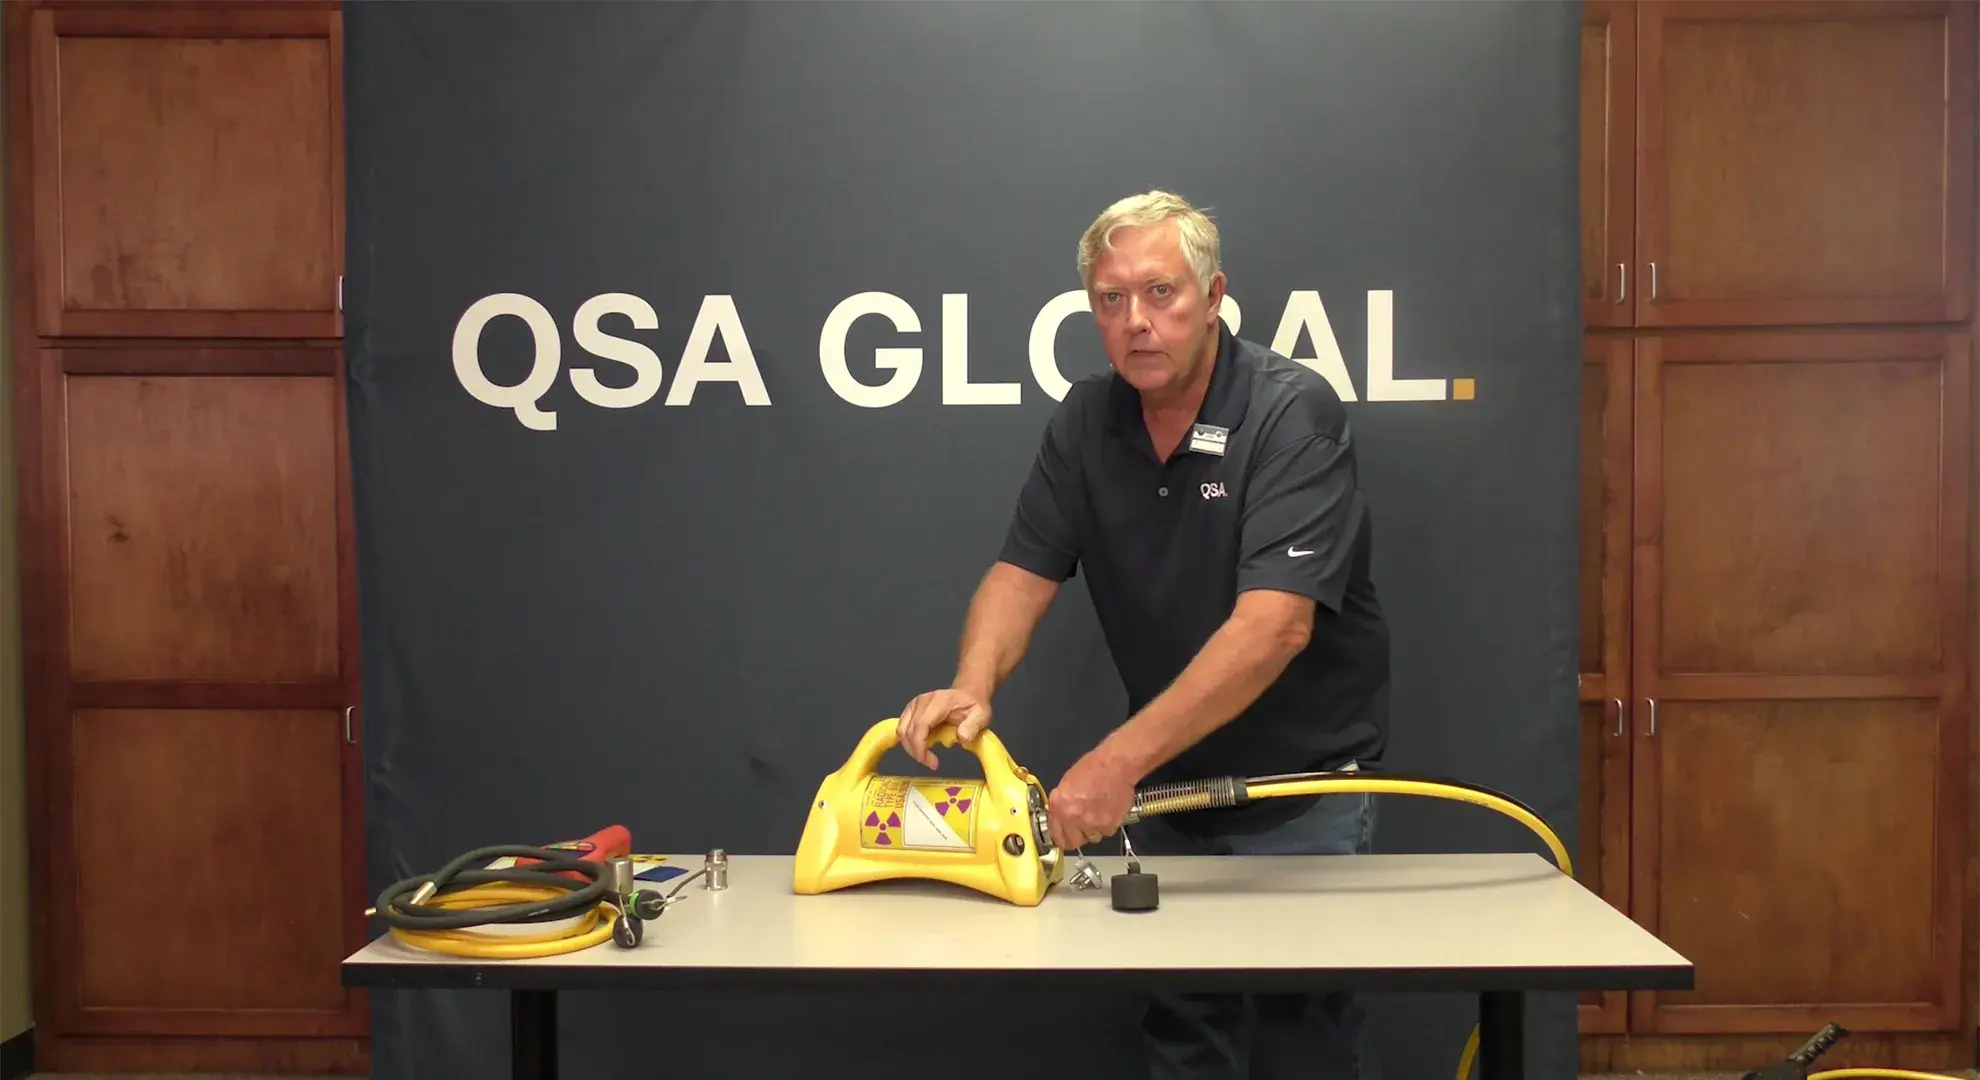
- Detach the guide tube from your projector to access the port.
- Install the leak test nut. This attaches like a bayonet fitting and opens the port cover, exposing the access point to the source.
Important Safety Tip:
If a sealed source is present and the port cover is opened, radiation will stream from the port once the tungsten shielding plug is removed. A 100 Curie Ir-192 source can emit up to 1 R/hr due to Compton scatter. Never pass your hands or body in front of the port and always maintain distance from the beam direction.
Step 3: Performing the Wet Wipe Test
- Open the leak test kit pouch.
- Remove the first Q-tip (wet wipe).
- Moisten it with clean water.
- Shake off excess moisture.
- Insert the wet Q-tip through the leak test nut into the open source port of the projector.
- Guide the Q-tip to the first bend of the S-tube, where contamination is most likely to accumulate.
- Carefully return the used wet Q-tip to the pouch. Avoid touching the cotton tip or contaminating the outside of the pouch.
Step 4: Performing the Dry Wipe Test
- Remove the dry Q-tip from the leak test kit pouch.
- Repeat the process in the same location as the wet test.
- Return the dry Q-tip to the pouch and seal the kit securely using tape or a staple.
Step 5: Check for Contamination
Before mailing the sample, use a survey meter to check the leak test kit.
- Stand off to the side, away from the radioactive source.
- Set your survey meter to its most sensitive scale.
- Hold the pouch close to the detector (but not touching)
- Watch for meter deflection (or increased readings)
If the meter responds, you may have contamination. Do not send a hot sample. At this point you should set the projector aside and contact QSA Global for support.
Step 6: Completion and Shipment
If the wipe is cold, send it to your approved lab or QSA Global's analysis center.
- Remove the leak test nut.
- Confirm the projector is secure and locked.
- Send the sealed leak test kit to your designated analysis center via mail, UPS, or FedEx.
Additional Safety Reminders
- Always perform leak testing in a controlled environment using proper radiation monitoring equipment.
- Adhere to ALARA principles (As Low As Reasonably Achievable) at all times [1].
- Keep your emergency procedures accessible in case contamination is detected.
- Only trained and certified personnel should perform leak testing.
- Verify expiration dates on all test kits before use.
Sources
[1] U.S. NRC Regulatory Guide 8.29: “Instruction Concerning Risks from Occupational Radiation Exposure”
Note: This guide focuses on basic leak testing procedures only. Additional safety protocols, emergency procedures, and specific regulatory requirements may apply based on jurisdiction and facility requirements. Always consult your company's radiation safety procedures, applicable safety manuals, and current regulatory guidelines for complete requirements.
