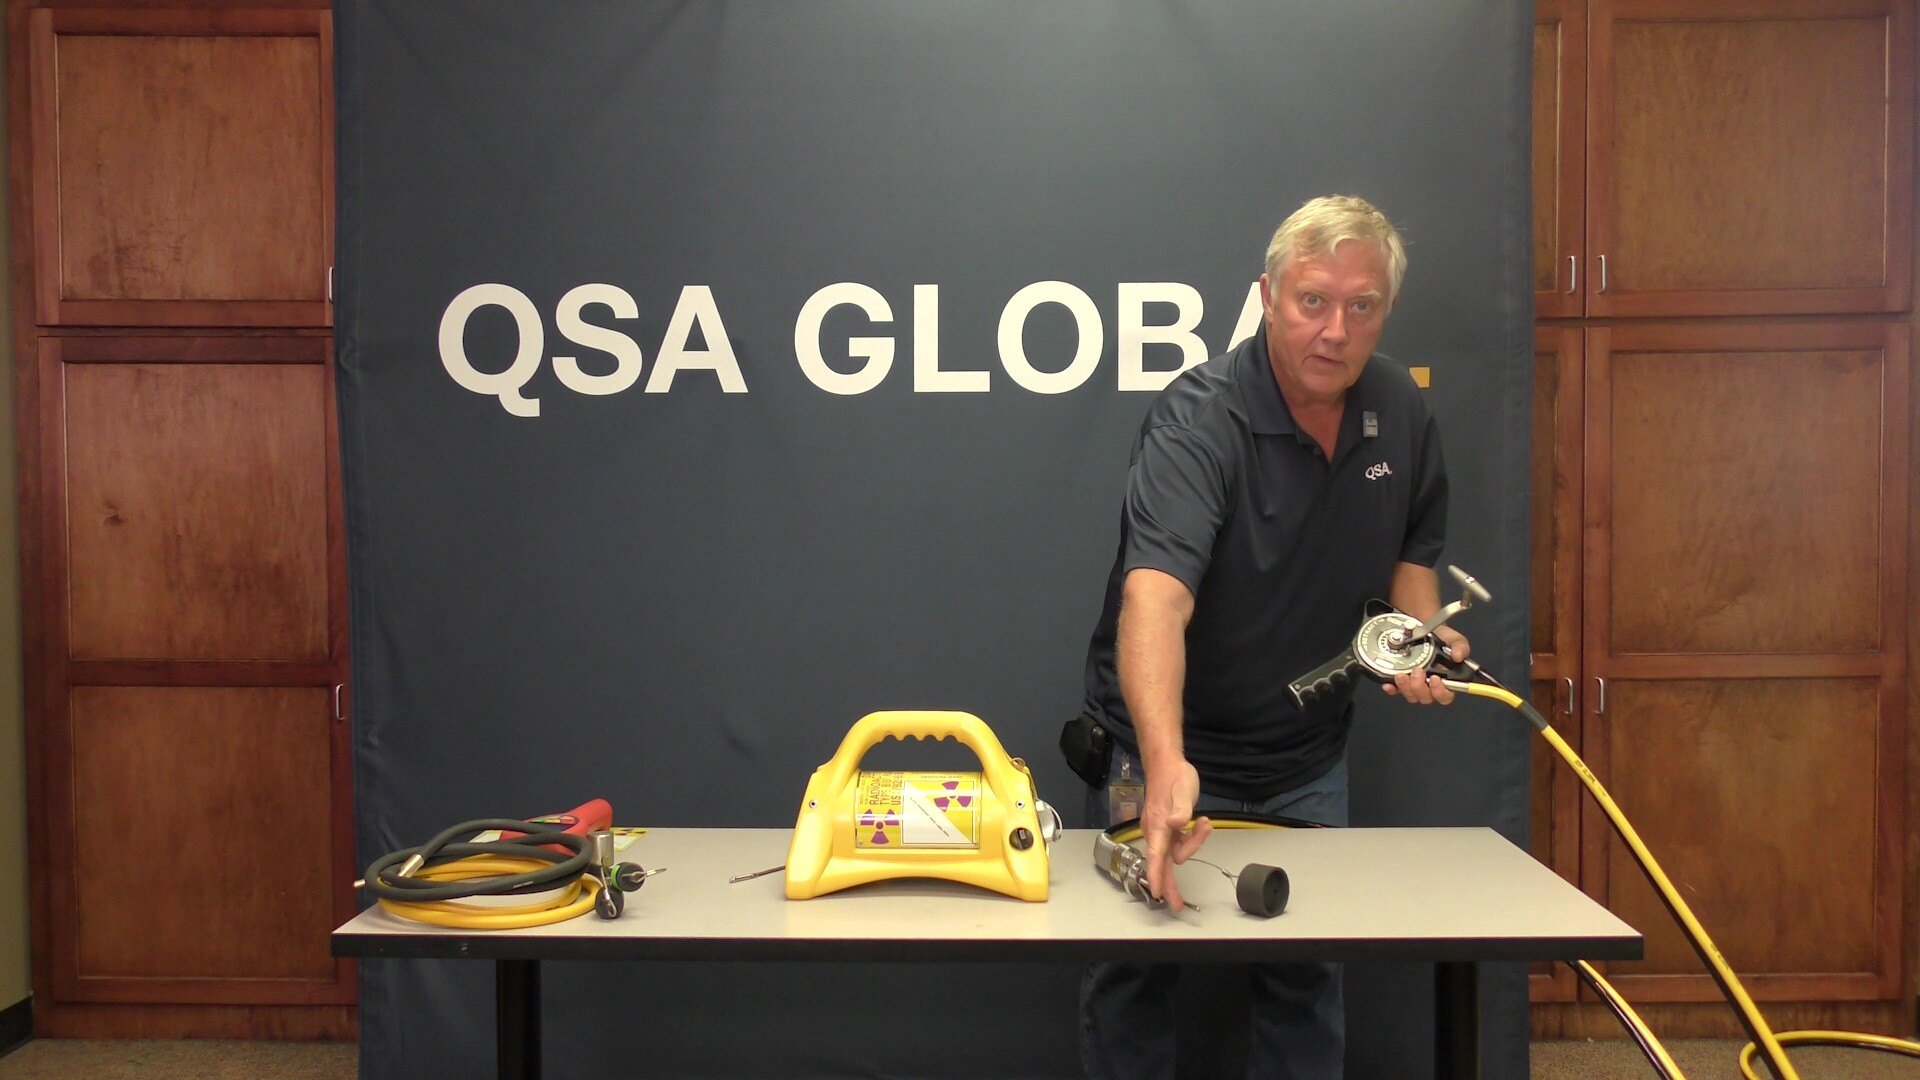
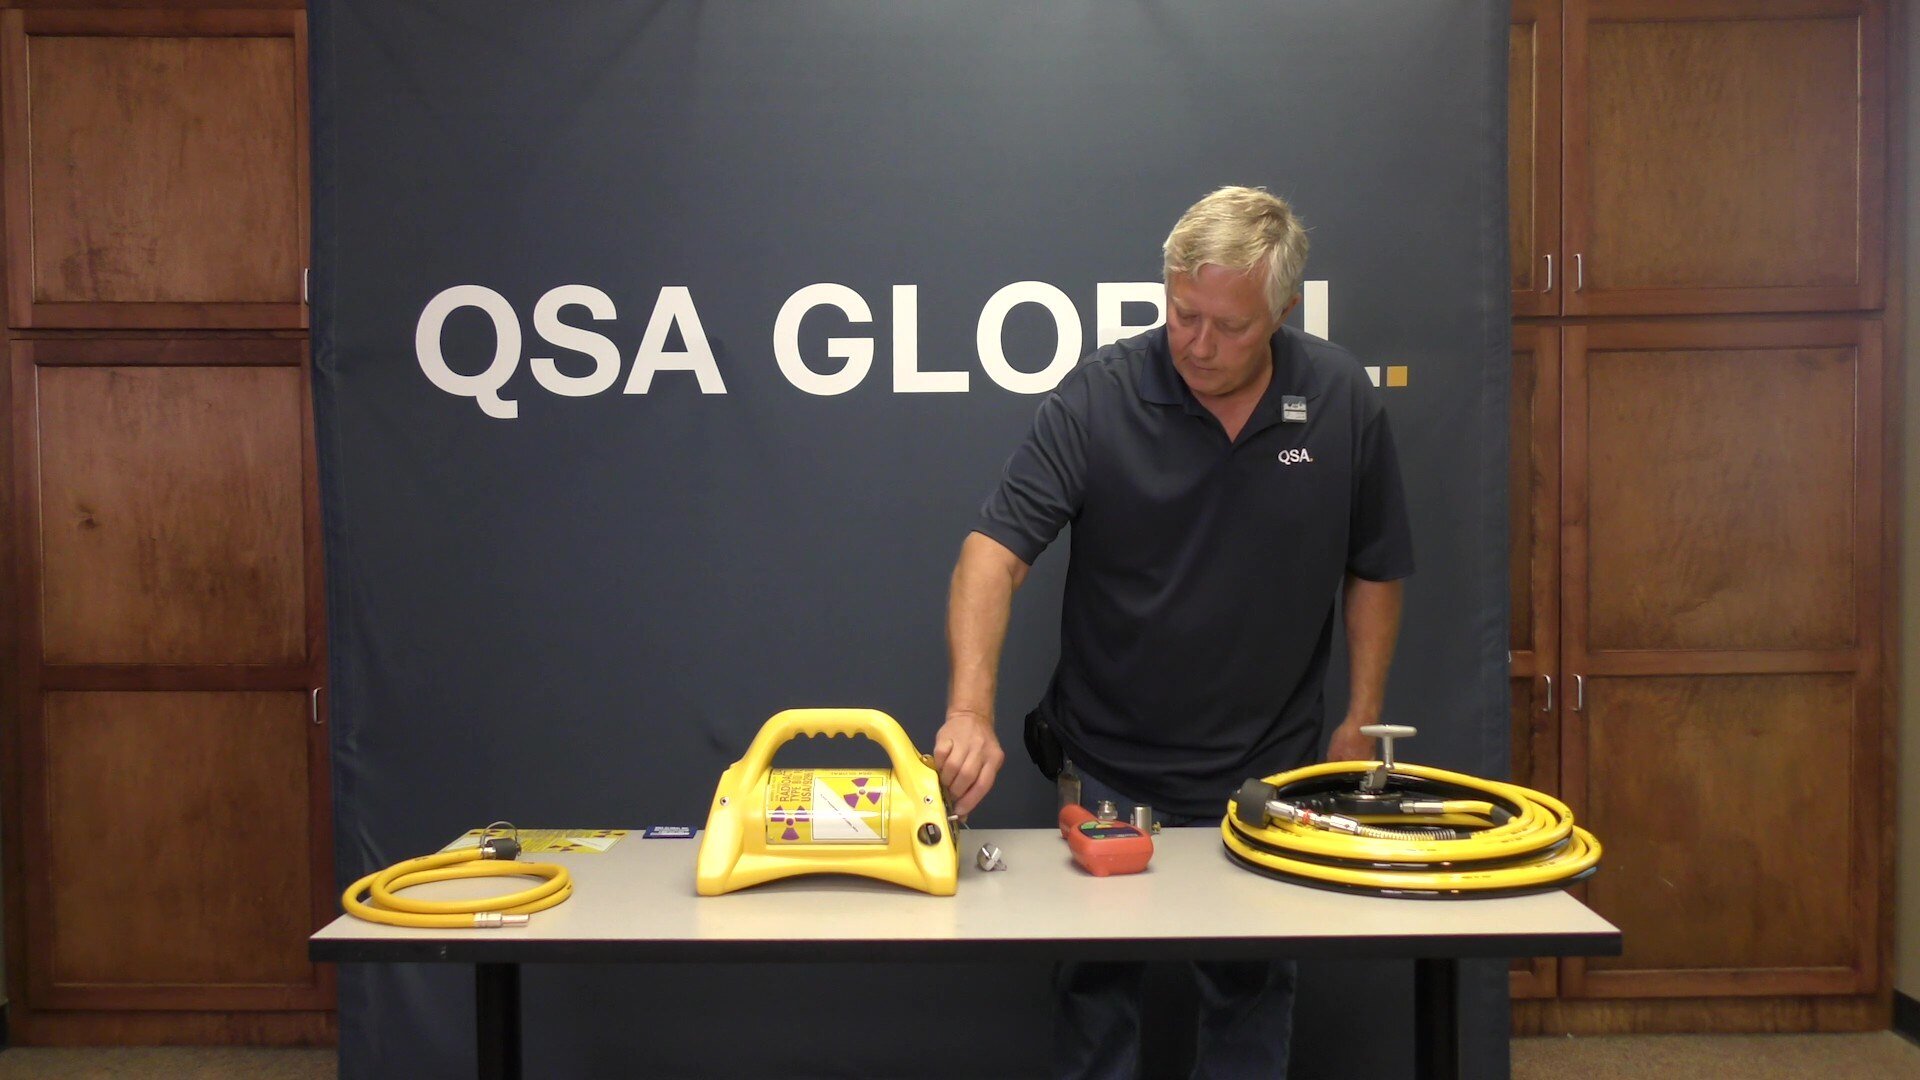
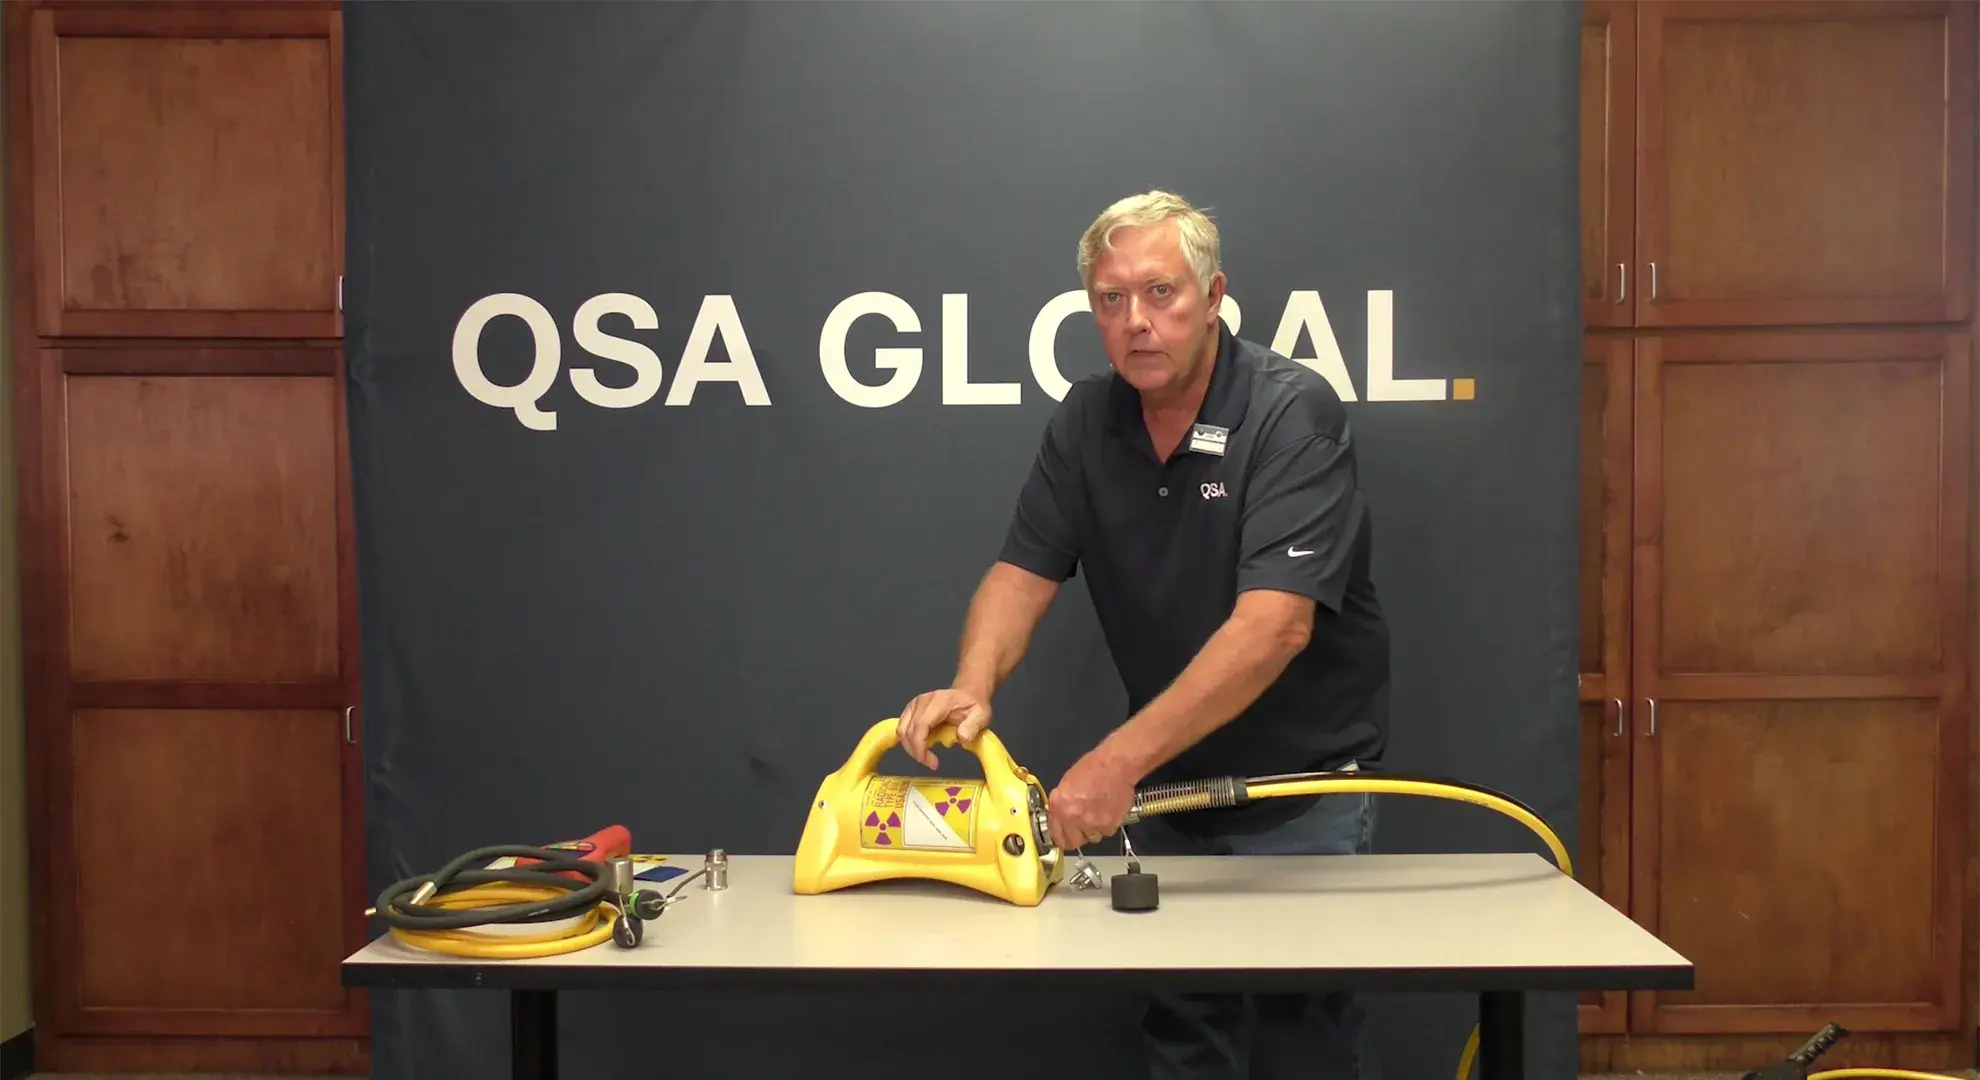
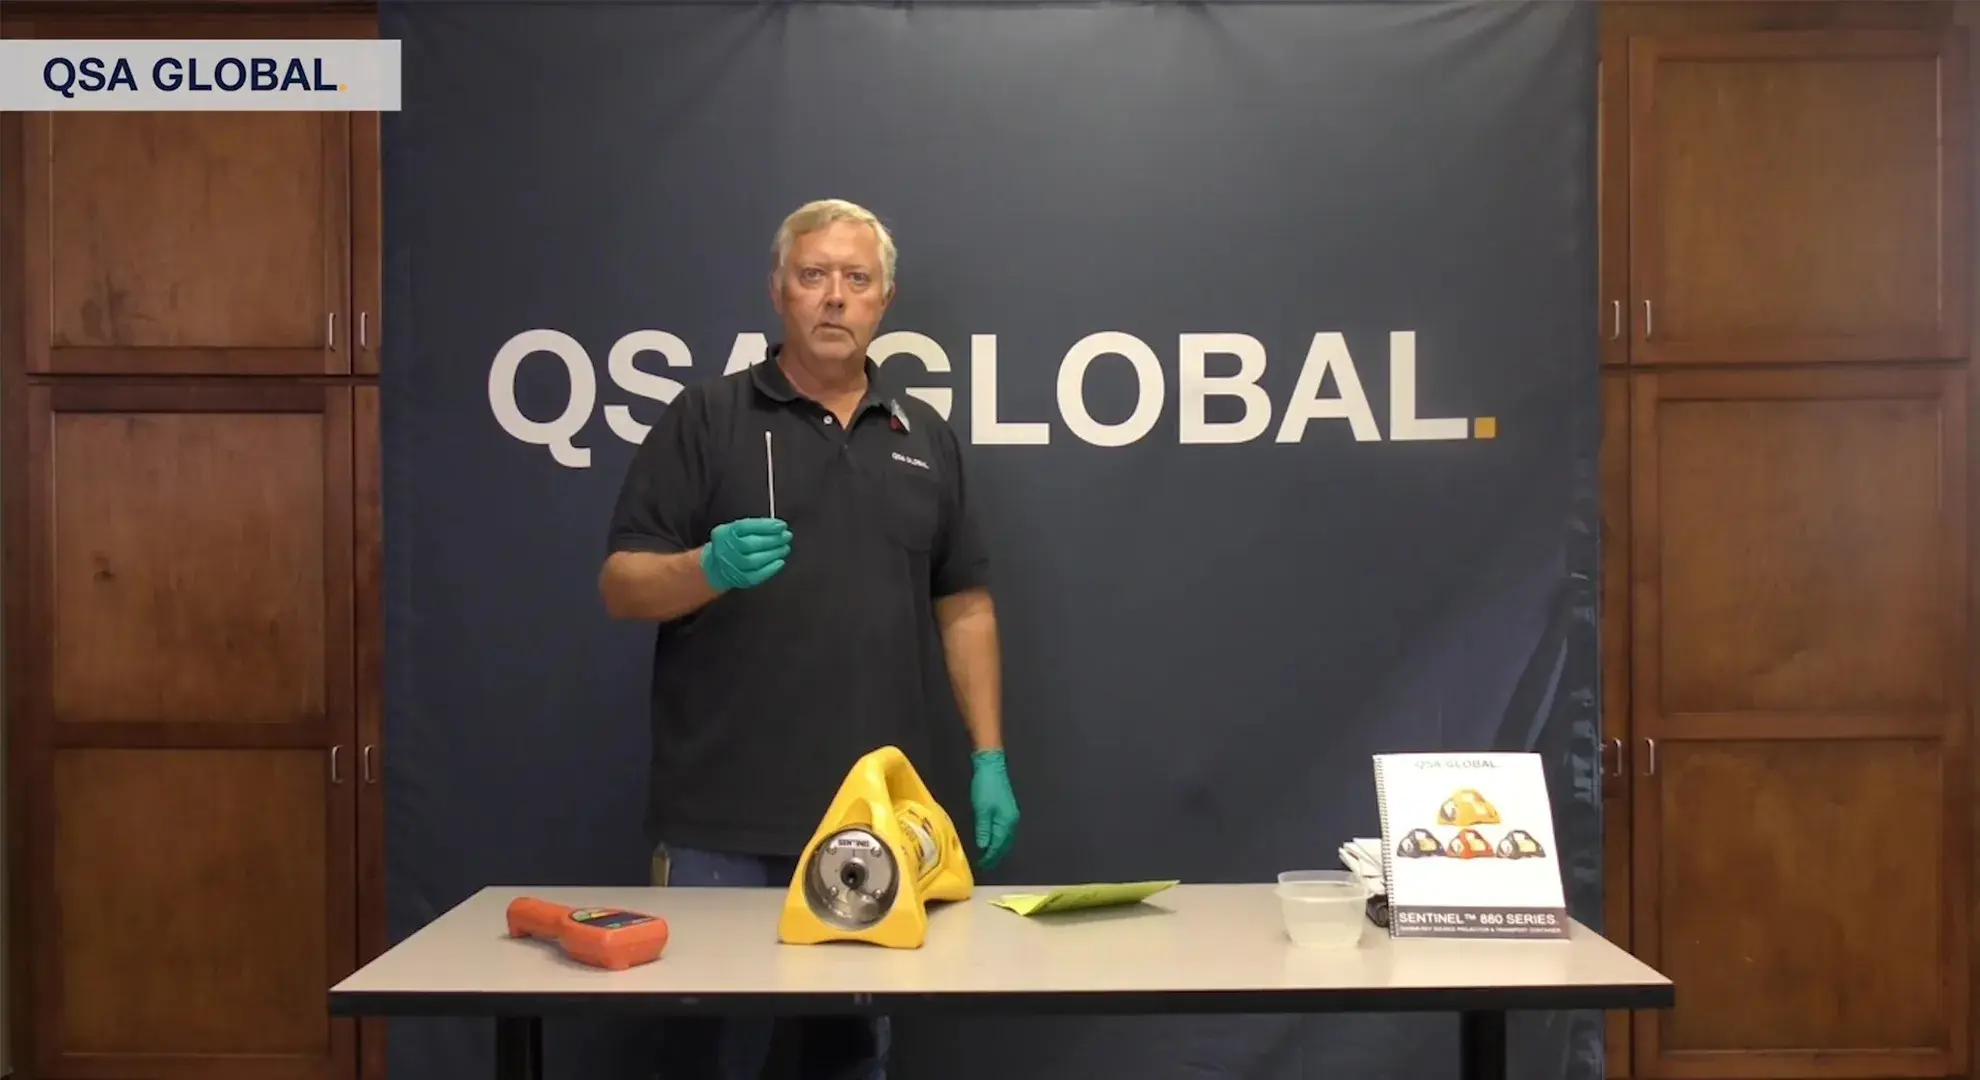
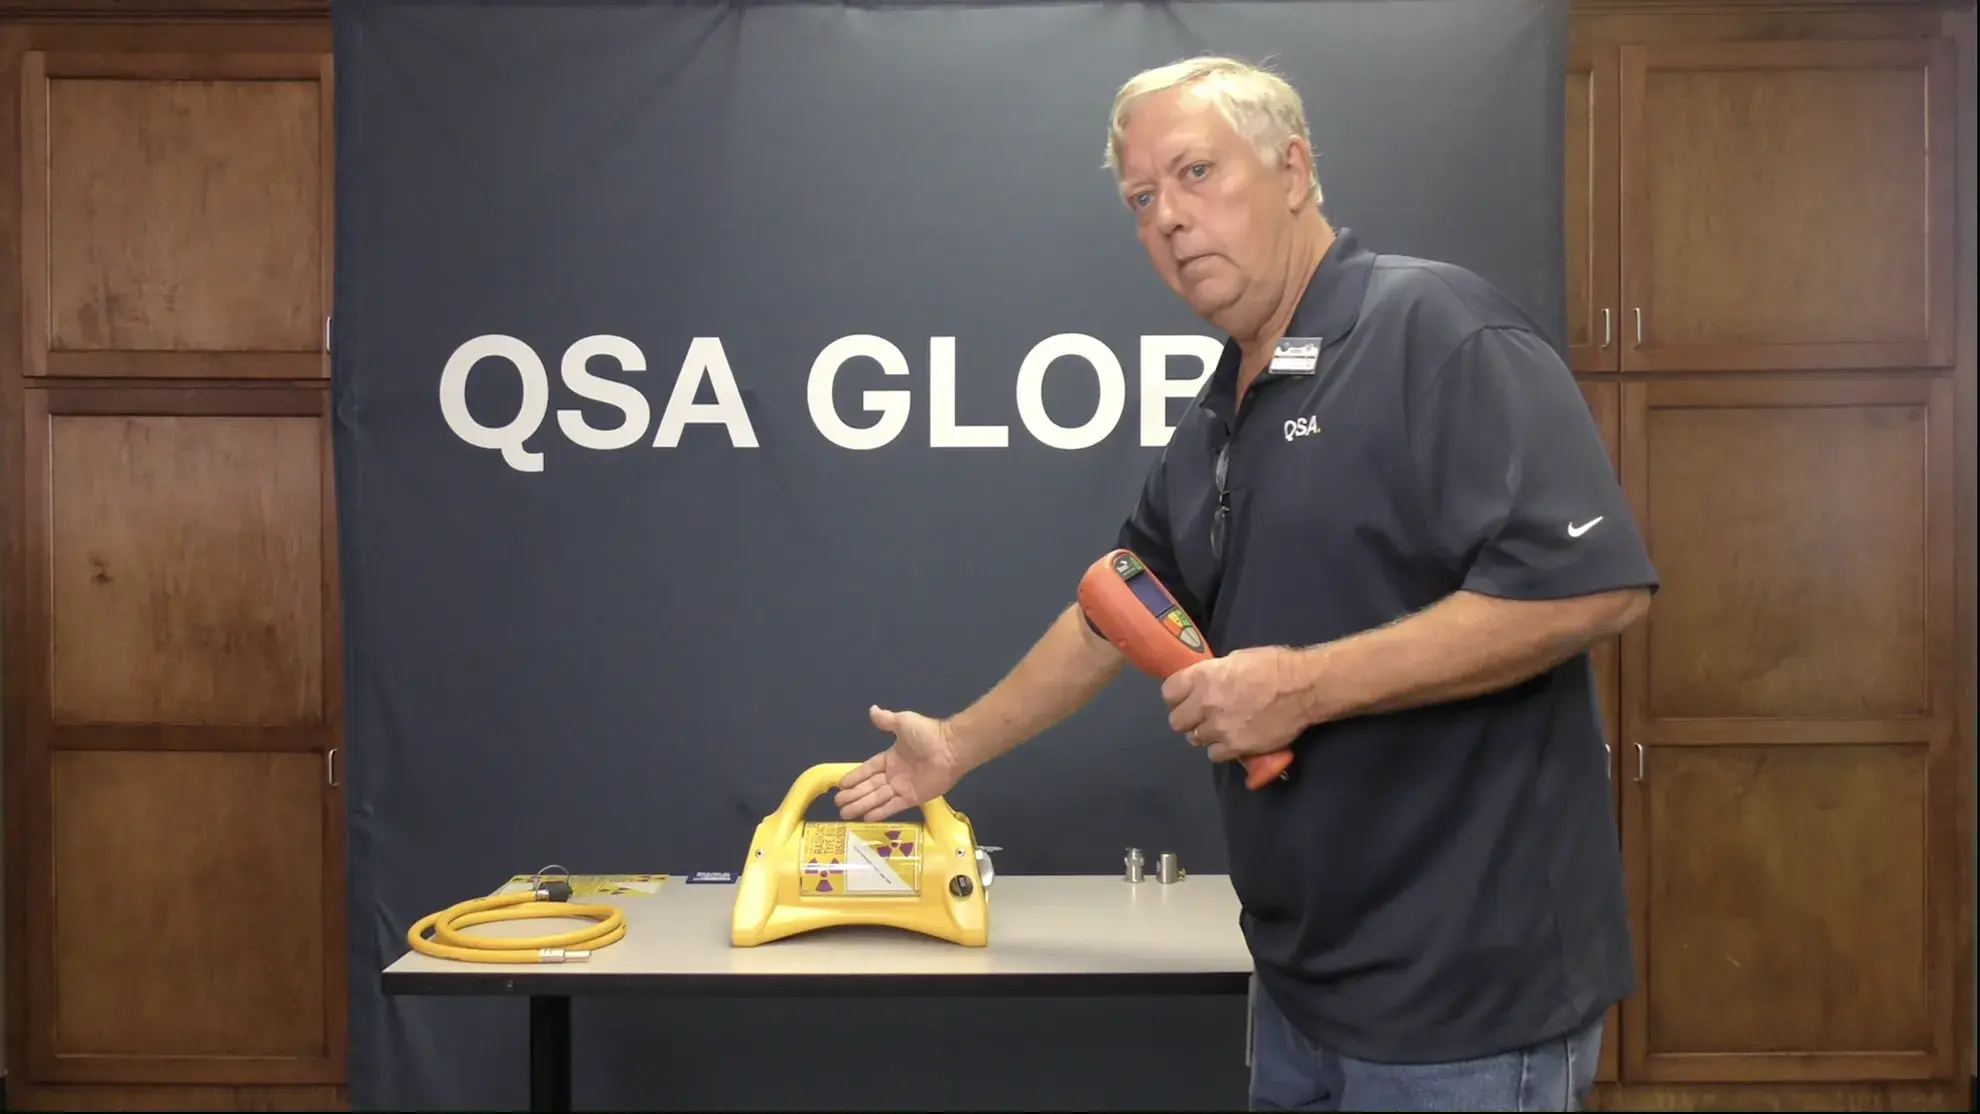
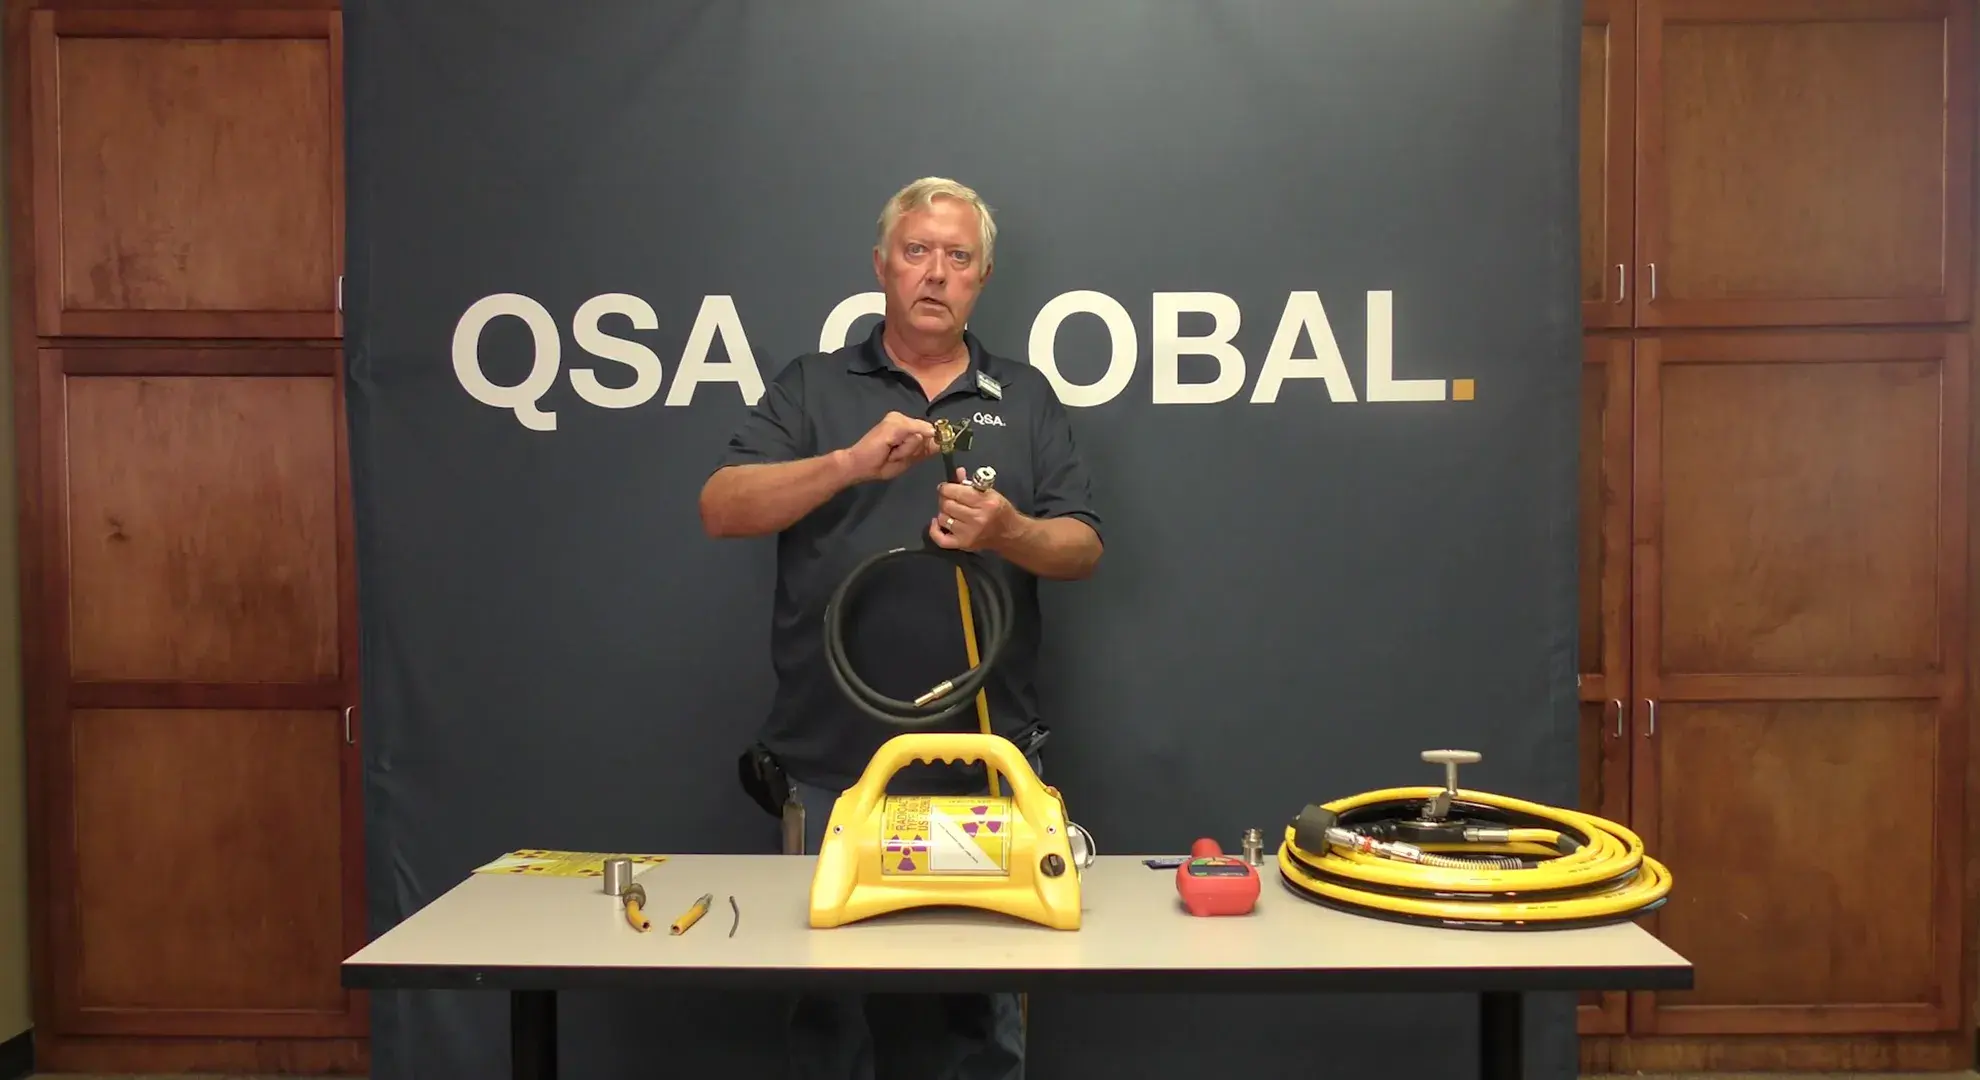
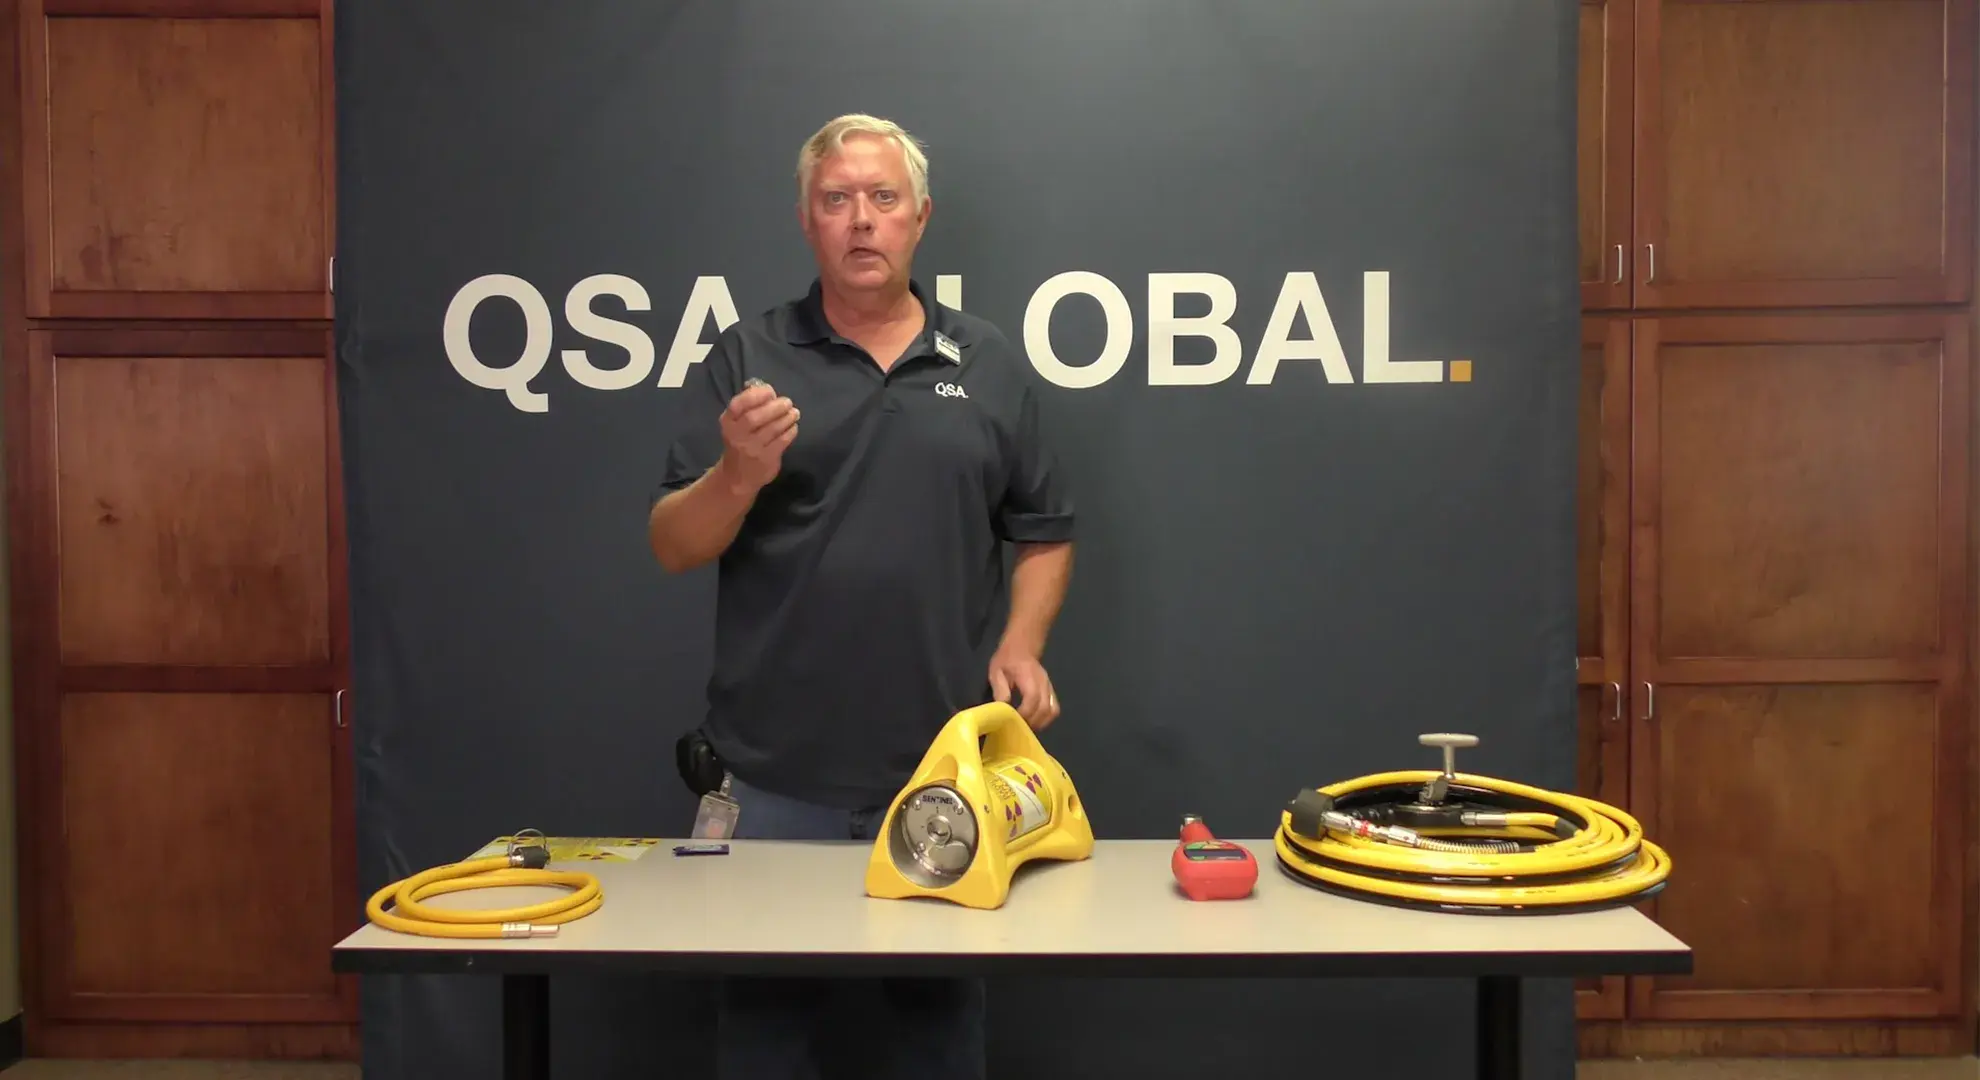
Drive cables take a beating. Between setup, teardown, transport, and exposure to rough site conditions, they're one of the first components to show wear. A damaged cable can lead to failures, retrieval scenarios, or exposure incidents. That’s why routine inspection is a non-negotiable part of the job. This guide lays out a clear, technician-tested process for inspecting your drive cables before use.
Prepare for Inspection
Start by cranking out about 12 inches of cable. This is the section that’s most exposed and most likely prone to damage.
Perform a Visual Inspection
- Cleanliness: Check how clean the cable is. If there’s heavy buildup from mud, moisture, or chemical exposure, clean the cable before continuing.
- Rust: Look for rust along the exposed section.
- Wag test: or bounce the cable and check if it returns to its original position. A healthy cable should return to straight when released.
If the drive cable shows rust or fails the wag test, remove it from service.
Lubrication and Tactile Inspection
- When you touch the drive cable, there should be a light coat of grease in place.
- Movement should feel smooth, with no stiffness or resistance.
If the cable feels dry, sticky, or moves with resistance, clean it and apply the correct lubricant. If performance doesn’t improve, remove it from service.
Outer Windings Inspection
- The outer windings should be round and evenly spaced.
- Look for flat spots in the outer windings. This occurs when the drive cable is bent and wearing against the 661 connector. Over time, this contact flattens the outer windings and reduces its outer diameter
- The standard outer diameter is 0.185 inches. If the windings are flattened and the diameter measures below 0.183 inches, clip the cable and install a new connector.
Drive Cable Connector Inspection
- The 550 drive cable connector should sit straight on the drive cable. If it is more than 15 degrees out of place, remove it from service.
- Check behind the connector for breakage or extreme rust. If there’s any present, remove it from service.
- Examine the crimp on the 550 connector. Ensure the ball and the shank are straight and have no damage.
- Use the go/no-go gauge to verify the diameter of the ball and the shank.
If any part fails visual inspection or gauge testing, remove it from service.
Pistol Grip Assembly Inspection Review
To review, this is the complete check of the pistol grip drive cable and associated components:
- Label on the pistol grip is legible
- Handle screws are tight
- All connectors are tight
- No excessive cuts or burns in the conduit
- Freedom of movement is present through the assembly
- 661 safety connector pins are in place
- There’s no excessive wear on the drive cable
If any of these conditions are not met, correct the issue or remove the drive cable from service.
Drive Cable Inspection Checklist
| Checkpoint |
Acceptable Condition |
Action if Fails |
| Cleanliness |
Clean or cleaned before inspection |
Clean before continuing |
| Rust |
No surface rust |
Remove from service |
| Wag Test |
Returns to original shape |
Remove from service |
| Grease |
Light, even coating |
Clean, lubricate, or remove from service |
| Outer Windings |
Round, evenly spaced |
Clip or replace |
| Outer Diameter |
0.183 inches or less |
Clip and re-terminate or replace |
| Connector Alignment |
Within 15 degrees |
Remove from service |
| Connector Breakage/Rust |
No signs of breakage or rust |
Remove from service |
| Crimp |
Secure and intact |
Remove from service |
| Ball and Shank |
Straight, no wear, pass gauge |
Remove from service |
| Pistol Grip Label |
Legible |
Replace or re-label |
| Handle Screws |
Tight |
Tighten or replace |
| Conduit Condition |
No excessive cuts or burns |
Remove from service |
| Cable Movement |
Moves freely |
Investigate and correct restriction |
| 661 Safety Connector Pins |
Pins in place and secure |
Remove from service |
Make It Routine
Properly maintaining your drive cables extends their service life and ensures reliable operation. Make drive cable inspection part of your regular pre-operational checks to prevent unexpected failures during gamma radiography operations.
Note: This guide focuses on basic drive cable inspection procedures only. Additional safety protocols, emergency procedures, and specific regulatory requirements may apply based on jurisdiction and facility requirements. Always consult your company's radiation safety procedures, applicable safety manuals, and current regulatory guidelines for complete requirements.
